
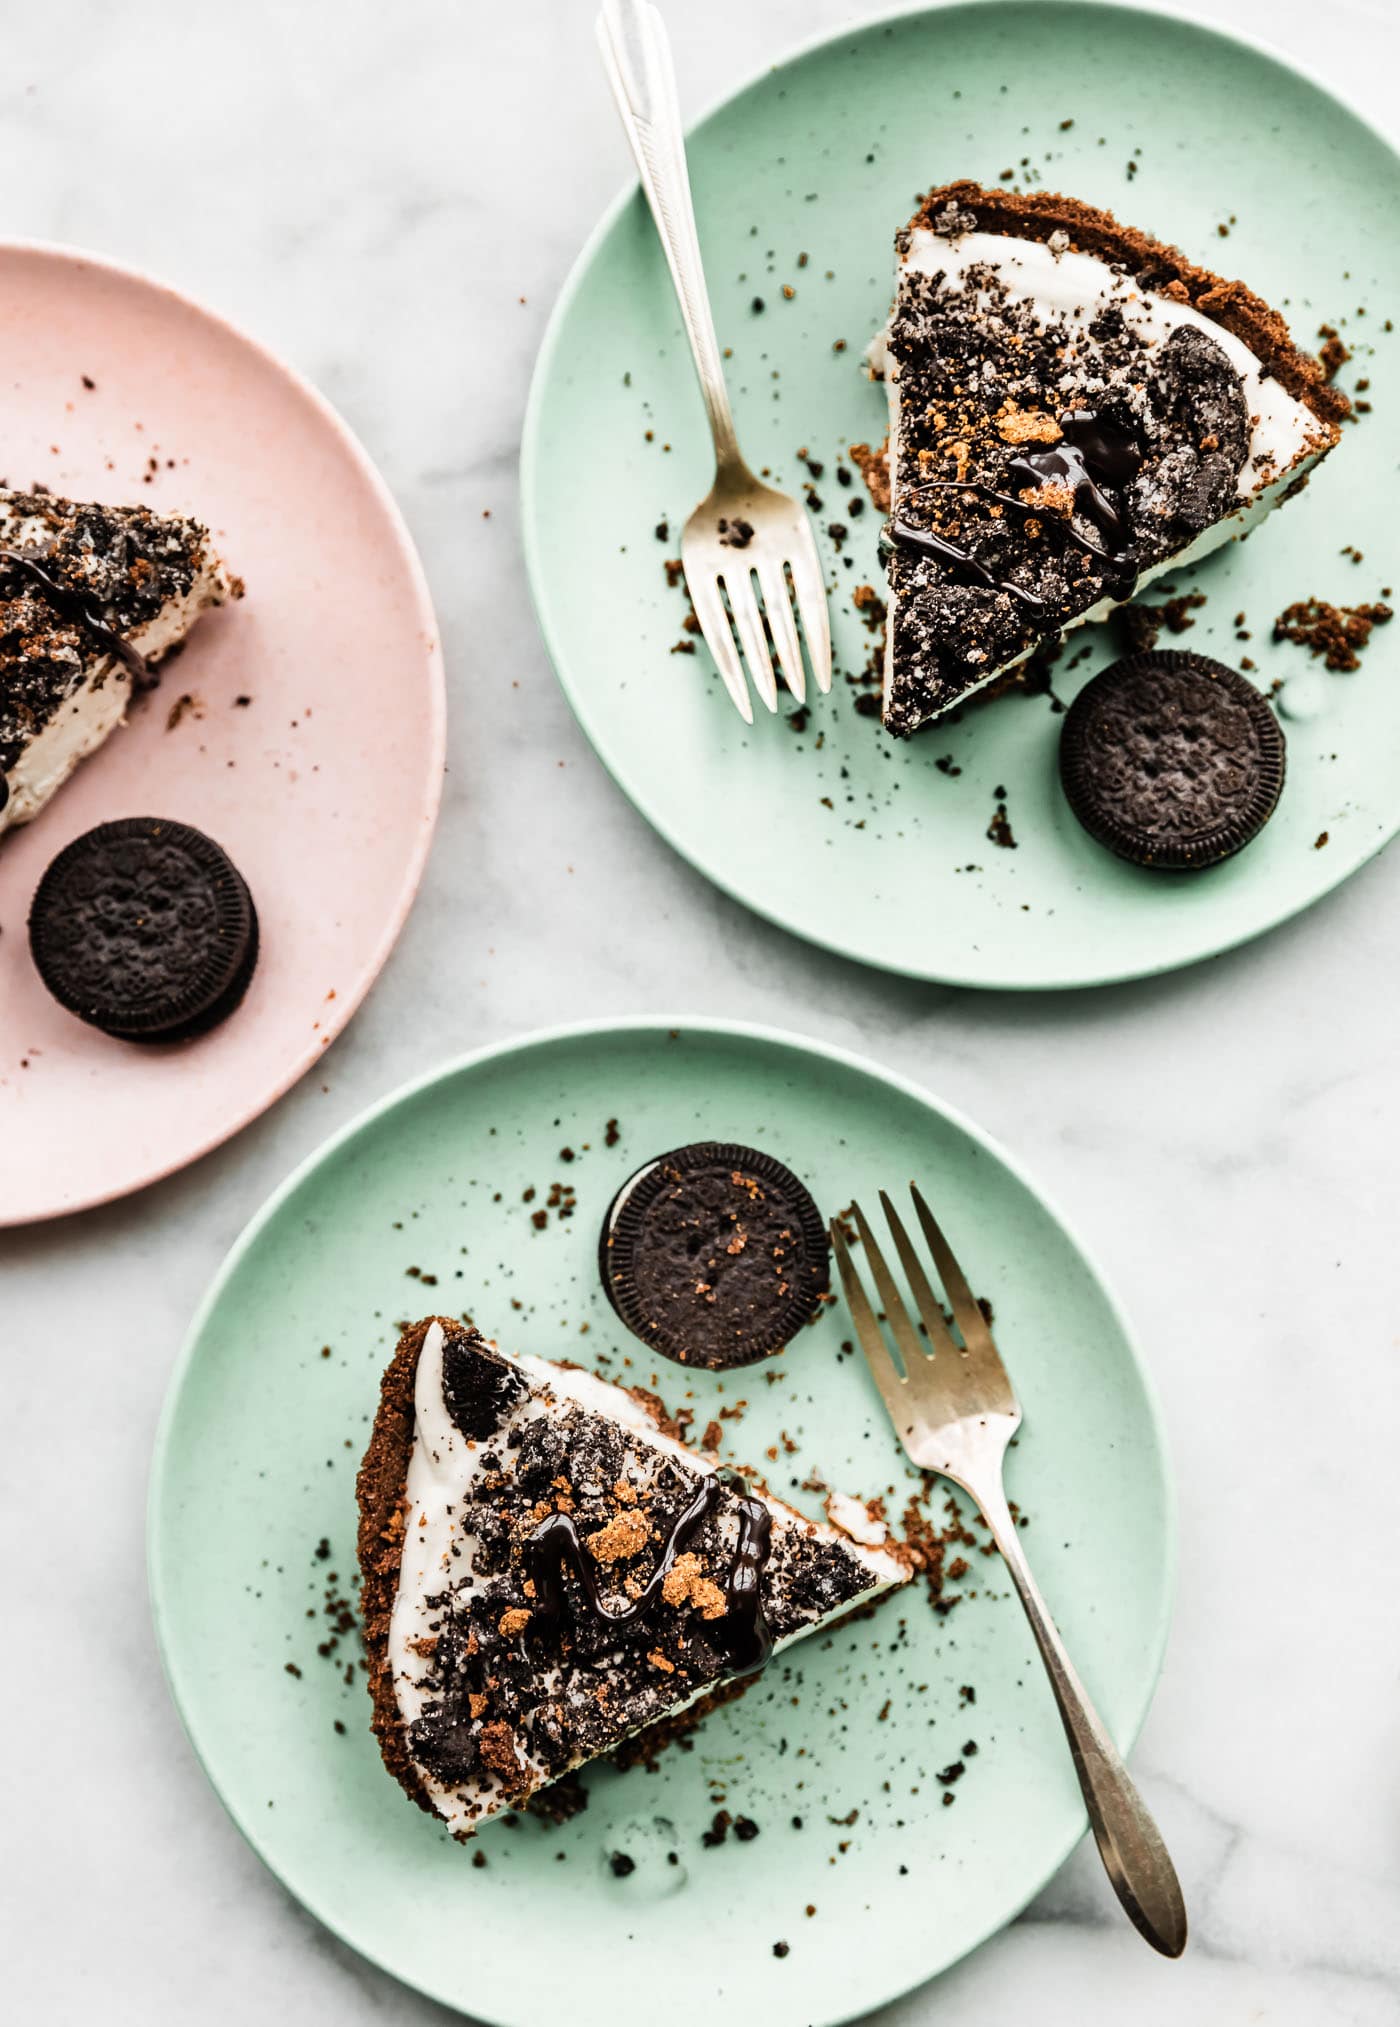
A childhood favorite made allergy-friendly, this Vegan Dirt Pie is a quick no-bake dessert that features a homemade gluten-free crust and easy swaps for a better-for-you dessert you’re going to love!

Dirt Pie, Dirt Cake, Mud Pie…What Do You Call It?
If you’re not familiar with dirt pie, it’s possible you call it by another name. That’s because this recipe seems to be called a bazillion different things. It was inspired by Kansas City dirt cake I grew up eating. This version contained layers of Oreos followed by a mixture of cream cheese, pudding, sugar, and whipped cream. However, we’ve also heard it being referenced as Oreo dirt pie, Oreo dirt cake pie, Oreo dirt pie, Oreo dirt pudding, and the list goes on.
No matter what you call this dessert, it’s always delicious and a summertime classic! However, as you have probably already figured out, it’s not exactly nutritious and definitely not vegan. That said, we’re proponents of enjoying all foods in moderation, even if they aren’t so nutritionally dense, and we weren’t willing to give up such a staple recipe.
So, we decided to compromise and made a few simple swaps to create a more allergy-friendly vegan dirt pie recipe. It comes together with natural ingredients for a dairy-free, gluten-free, and kid-friendly dessert perfect for birthday parties, potlucks, barbecues, and more!

Dirt Pie Ingredients
With classic dirt pie recipes, you’ll find a list of ingredients that includes Oreo sandwich cookies, cool whip, cream cheese, and quite a bit of sugar. We used (mostly) whole food, nourishing ingredients and even included several crust options to meet all your needs.
For the Filling

- Non Dairy Milk
- Fine Cane Sugar
- Cornstarch
- Vanilla Extract
- Salt
- Canned Coconut Cream (chilled – solid portion)
- Canned Coconut Milk (chilled – solid portion)
- Powdered Sugar or Raw Sugar
- Dairy-Free, Gluten-Free Vanilla Creme Cookies or Dark Chocolate Cookies
- Dark Chocolate Chips
Pro-Tip: For a taste that’s similar to cream cheese or cheesecake, we like to include butter extract too!
For the Crust
Your new go-to gluten-free crust recipe for all your pie needs, this version is made with vegan friendly gluten-free chocolate sandwich cookies (Glutino and Goodie Girl both offer allergy friendly cookie options) in place of Oreo cookies but can really be made with any cookies you like best.
- Gluten-Free/Vegan Chocolate Cookies (We love Glutino)
- Melted Refined Coconut Oil or Vegan Butter
Date Crust Option
A slightly healthier option, this version is made with natural ingredients and is every bit as delicious as the first!
- Pitted Dates
- Gluten-Free Quick Oats
- Unsweetened Shredded Coconut
- Unsweetened Cocoa Powder
- Sea Salt
Store-Bought Crust: For those days when you’re in a bit of a rush, we’re not above getting a little help from the store with pre-made gluten-free pie crusts like this chocolate snap pie crust!
Tips & Tricks
Make sure to chill your coconut milk and coconut cream in the fridge overnight! This will allow it to harden enough to form a whipped topping.
For the best texture, make your pudding a day in advance! This will save you time and allow the pudding and cream enough time to chill and set.
When it comes to coconut milk, the canned version is a must! The stuff from the milk section is too liquidy and won’t chill enough to create a thick texture to replace whipped cream.
Cut down the dishes, and use a rolling pin to crush the cookies into cookie crumbs for topping.
How to Make Vegan Dirt Pie
At a glance, this recipe might look intimidating, but it isn’t the case! The truth is, all you have to do is combine the ingredients, and enjoy – no oven required. It’s a no bake dessert recipe so easy to make the kids can do it, too! The trick is in perfecting the pudding layer. Don’t worry, we’ve got detailed instructions below!
- Make your crust! Just choose one of these options above (date crust or gluten-free cookie crust) and let is chill in fridge while you make the filling!
- To make the filling, first prepare the vanilla pudding, and let it chill in the fridge for 30-45 minutes.
- Place the solid portion of the coconut cream and coconut milk in a stand mixer or mixing bowl. Stir in the powdered sugar, vanilla, and butter extract. Whip for 2 minutes or until the ingredients resemble a whipped cream texture. Let it chill in the fridge.
- Once the pudding and coconut cream mixture have chilled, remove from the fridge and fold the pudding mixture in with the coconut cream mixture until well combined.
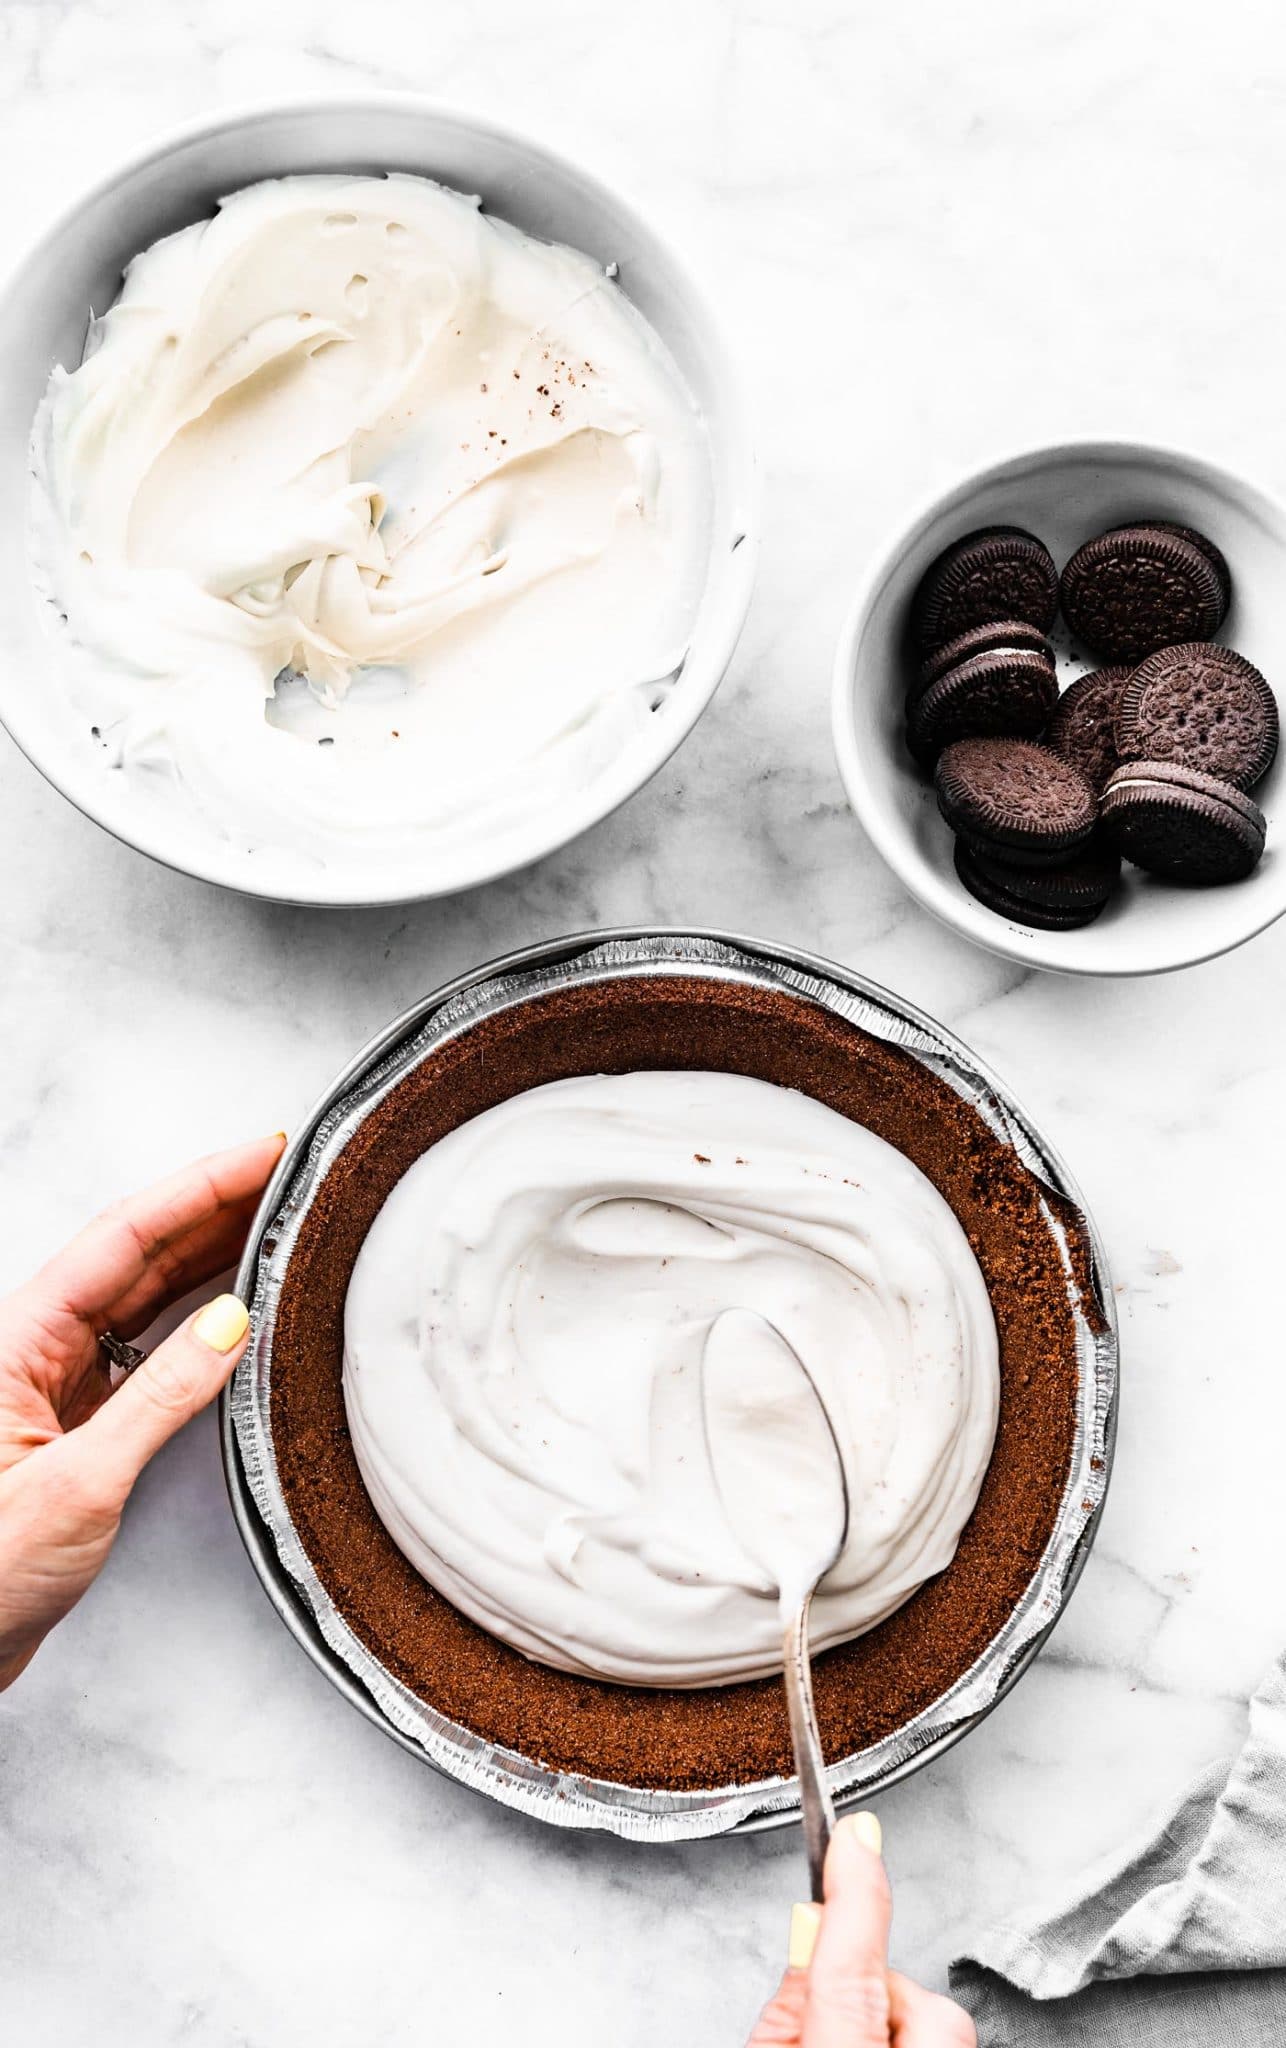
- Pour the filling layer into the pie crust, and use the back of a spoon to spread it evenly.
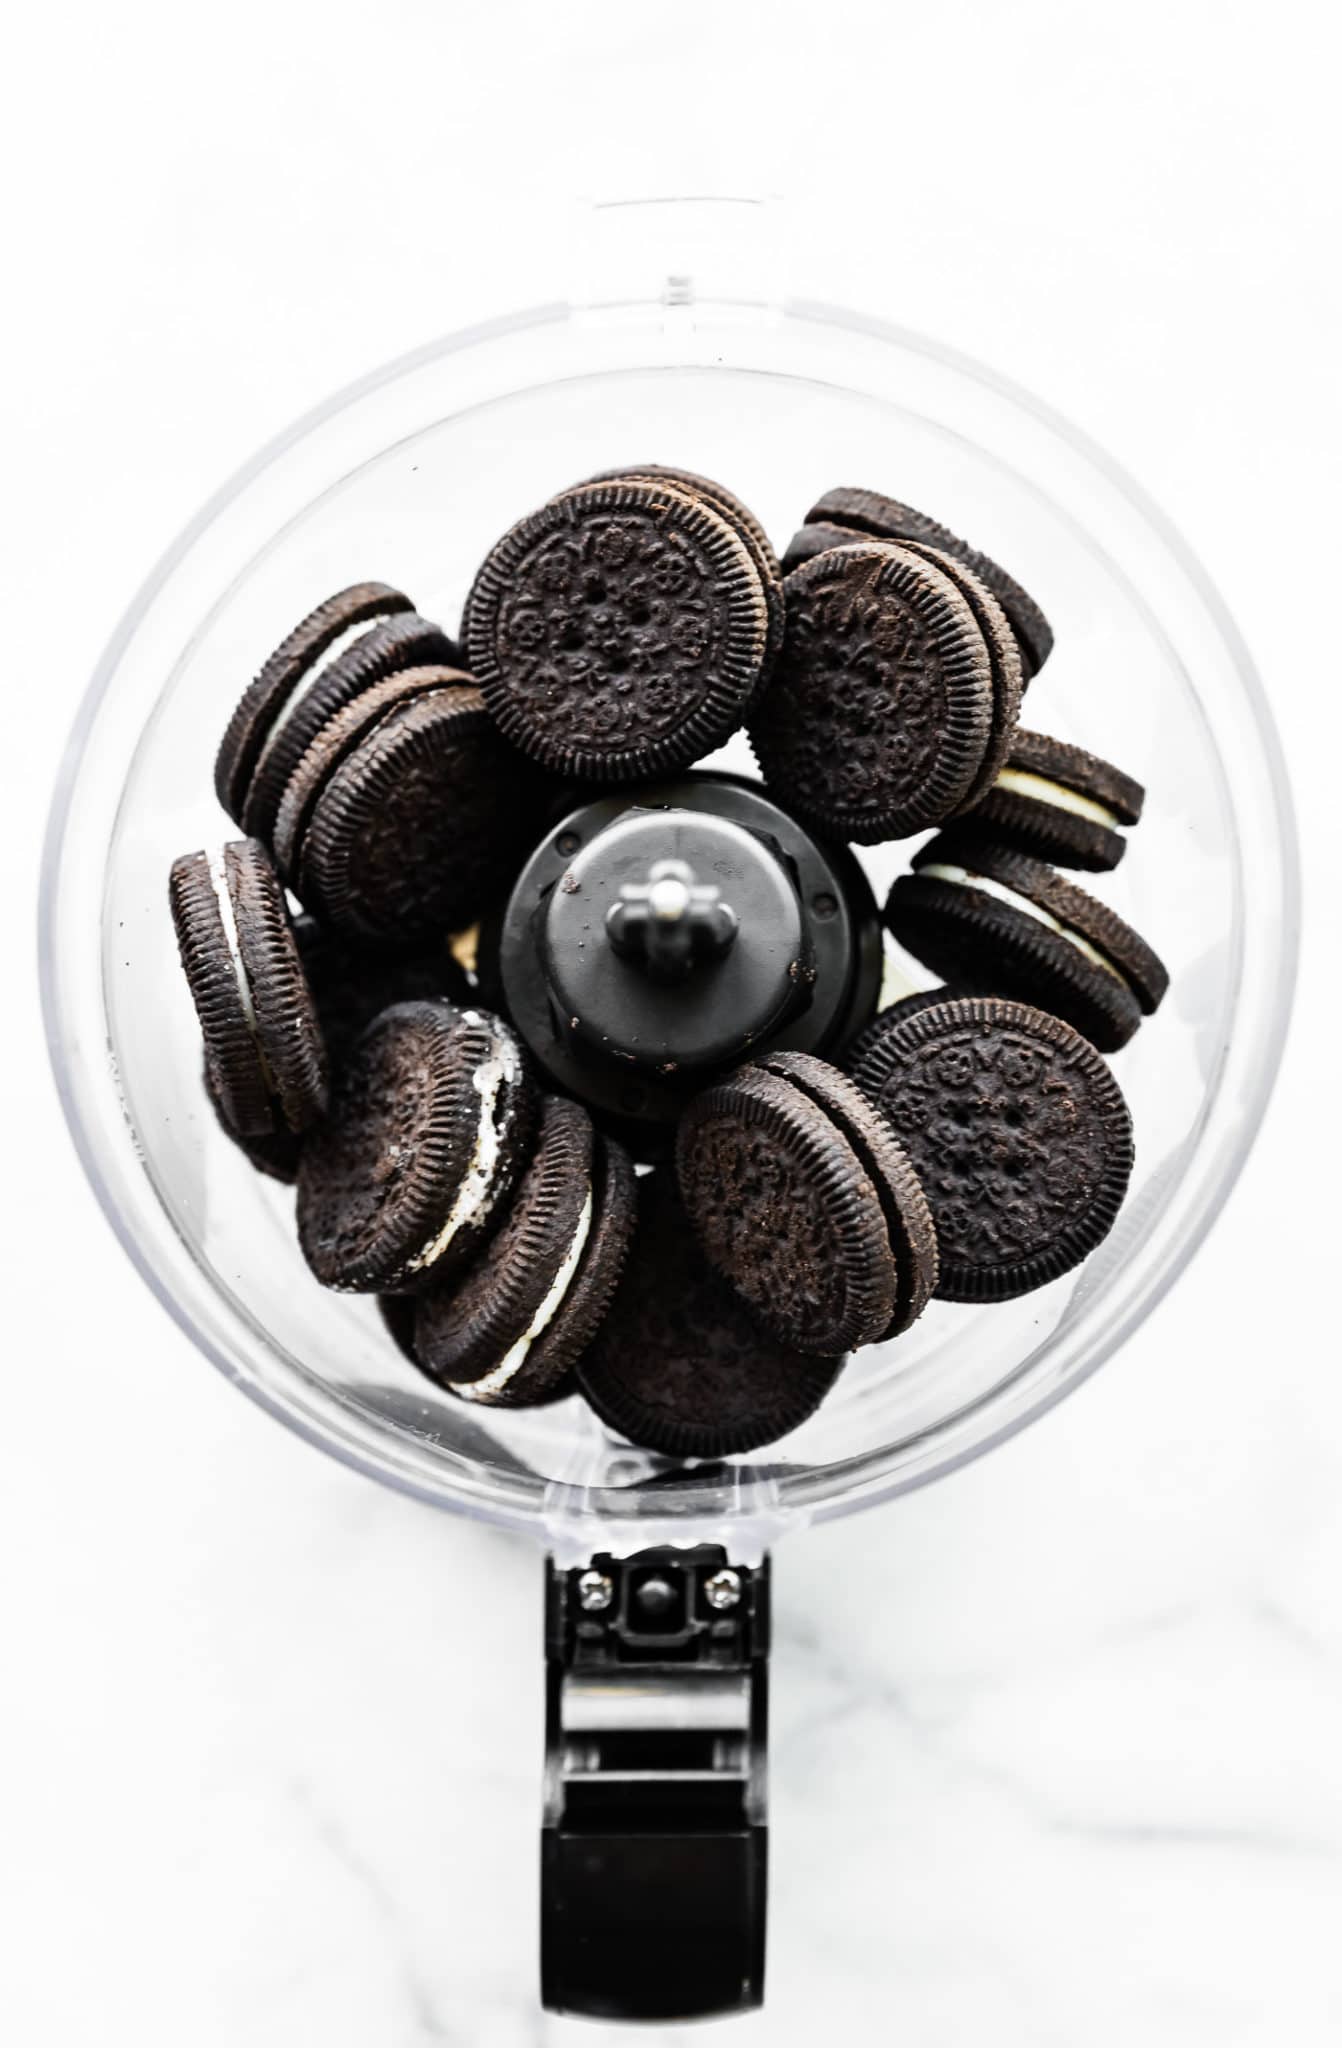
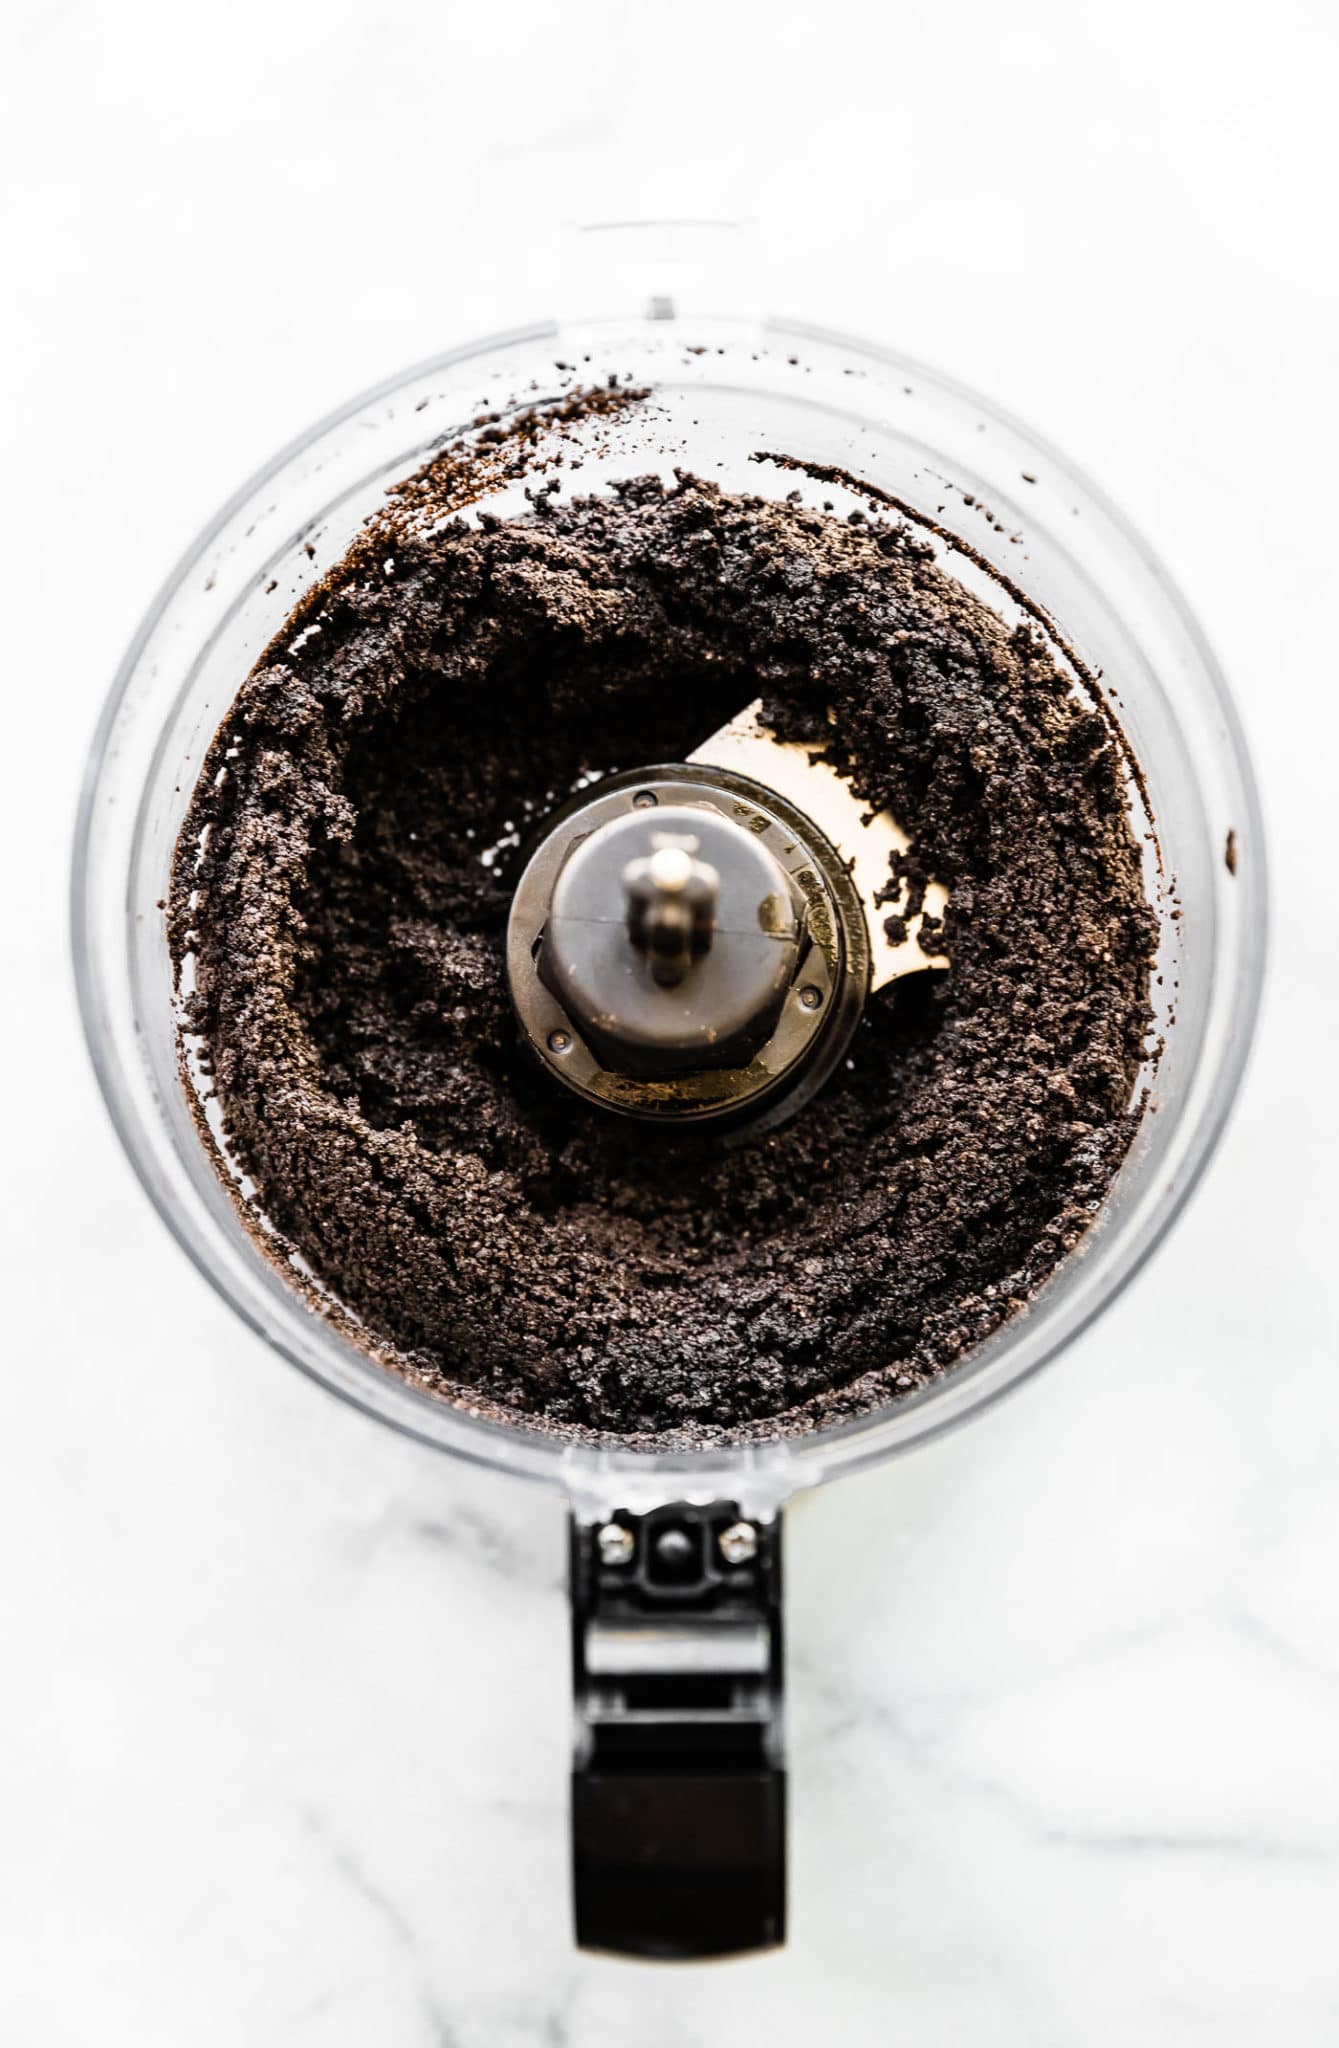
- Prepare the topping. Add the cookies to a bag or food processor, and crush them into pieces to form the “dirt.”
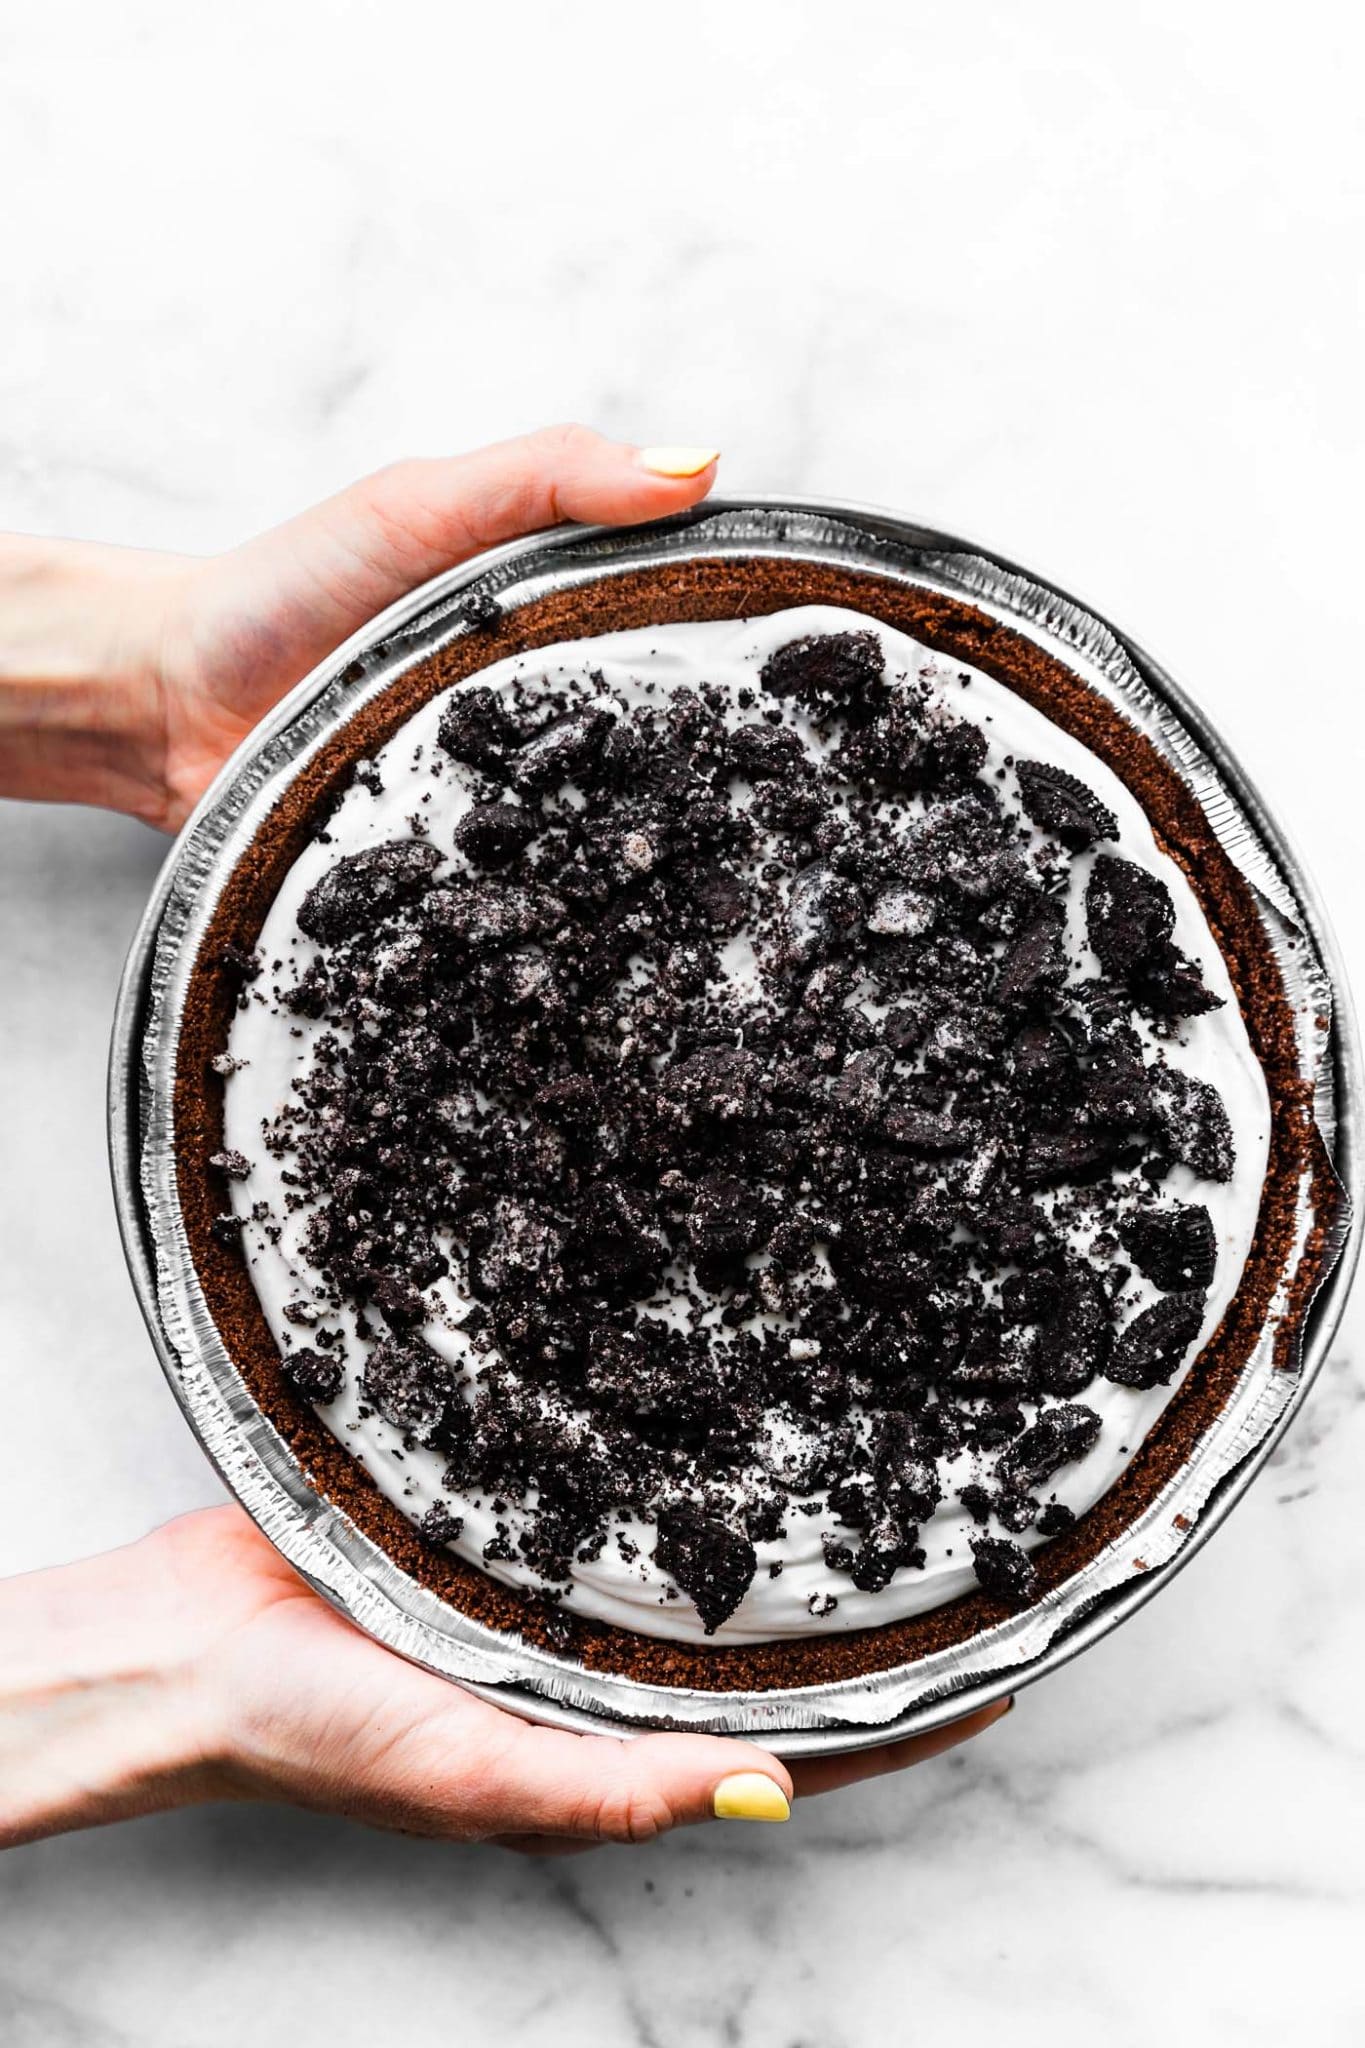
- Top your dirt pie with the cookie pieces and chocolate chips.
- Freeze for 20 minutes for easy slicing.
Fun Variations
There are so many ways you can switch up this dirt pie, making it perfect for every occasion!
- Add Coffee. Include a scoop of instant coffee for a chocolate coffee cake taste.
- Double Up On Chocolate! For an extra rich flavor, add in an extra scoop of cocoa powder. It’s got antioxidants. That means it’s healthy, right?!
- Make it Mint. Just a hint of mint extract helps turn this dirt pie into a grasshopper pie! Think Thin Mints turned pudding.
- Use Golden Cookies Instead. For a lighter, less chocolate-heavy treat, swap out the chocolate sandwich cookies for a vegan version of golden Oreos.
More of Our Favorite
Chocolate-Lovers Desserts
Common Questions
Technically you can. However, your pudding layer won’t be quite as fluffy. You’ll also want to be sure to check the ingredient list as most instant pudding mixture options aren’t dairy free or preservative free . We recommend this mix!
Technically, you can, but the taste of your dirt pie will be slightly different. Also, be sure to check the ingredient list as most aren’t vegan!
Yes! Store your dirt pie in the fridge for up to 3 days. Or, by some miracle it’s not devoured immediately, it can be kept in the freezer for up to 2-3 months!
During the summer we love to serve this recipe as a frozen pie. To do so, keep it in the freezer, and set it out to thaw 30 minutes before eating. Then, the texture is like that of just slightly melted ice cream and is so refreshing!
Or, for holidays and cooler weather, we prefer to keep it in the fridge for more of a softer, pudding-like texture that’s every bit as delicious.
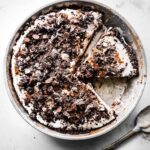
Vegan Dirt Pie Recipe (Gluten-Free)
- Total Time: 90 minutes plus prep time
- Yield: 9 slices 1x
- Diet: Vegan
Description
Whip up this vegan dirt pie recipe for a show stopping dessert that’s dairy free, gluten-free, and delicious!
Ingredients
For the Chocolate Cookie Crust – For homemade crust see notes.
- 18–20 (250 grams) gluten-free/vegan chocolate cookies (such as Glutino chocolate Vanilla Creme or dark chocolate cookies)
- 3–4 Tablespoons melted refined coconut oil or vegan butter (adjust as needed to allow the batter to hold together)
For the Filling
- 1 cup non dairy milk
- 3–4 Tablespoons fine cane sugar (adjust to desired sweetness)
- 1 ½ Tablespoons cornstarch
- 1 ½ teaspoons vanilla extract, divided
- Pinch of salt
- 1 can (13.5 ounces) coconut cream, chilled at least 6- 24 hours to thicken
- 2 (13.5 ounce) cans coconut milk, chilled at least 6- 24 hours to thicken
- ½ cup powdered sugar or fine cane sugar (powdered sugar will have a sweeter taste)
- Optional: ½ teaspoon butter extract for a “cream cheese” taste
- 21 (~12 ounces) gluten free chocolate vanilla creme cookies or dark chocolate cookies, crushed (See notes for vegan cookie brand recommendations)
- Optional: handful of dark chocolate chips
Instructions
To Prepare the Crust
-
Place the cookies in the bowl of a food processor or blender. Pulse until a crumb-like texture is formed.
-
Add the melted oil/butter, and pulse again until well combined. If the batter is too dry, add an additional ½ to 1 Tablespoon of melted oil, and pule again.
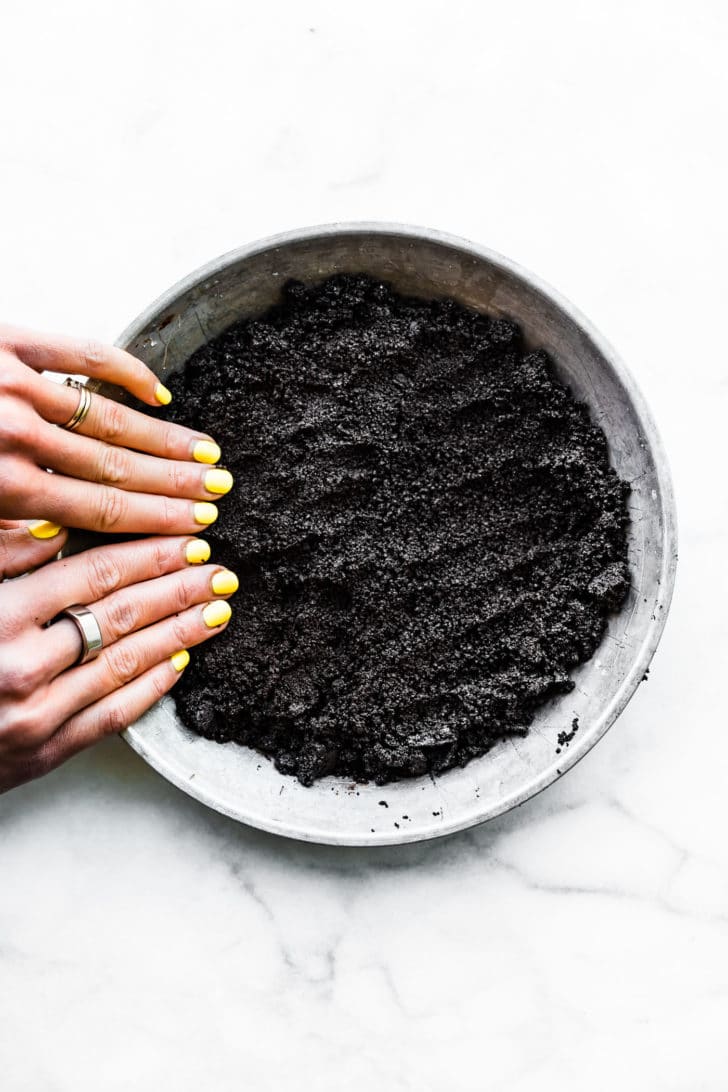
-
Using hands or a measuring cup, press the crumb batter into the bottom of a pie pan and around the edges/sides.
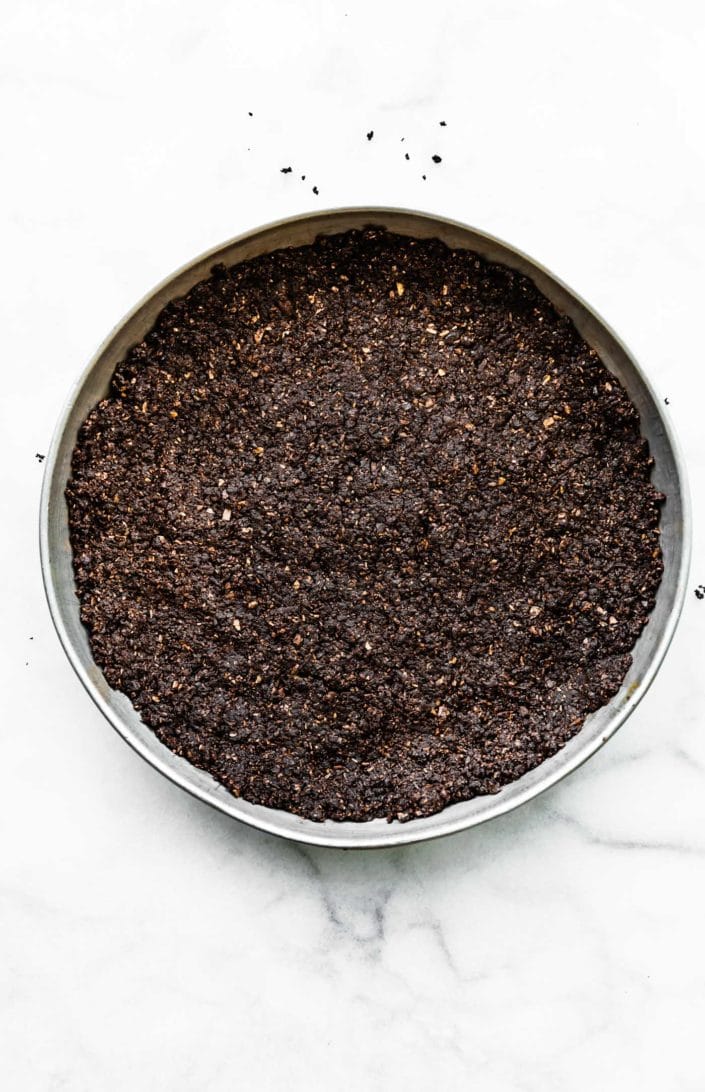
-
Place the crust in the fridge for at least 30 minutes before filling.
To Prepare the Filling:
-
Prepare the pudding. In a small saucepan, whisk the milk, sugar, cornstarch, 1 teaspoon of vanilla extract, and a pinch of salt on medium heat to combine. Simmer for 5-7 minutes, stirring frequently. Remove the saucepan from the heat, and let it cool in the fridge for 30-45 minutes or until the pudding has set.
-
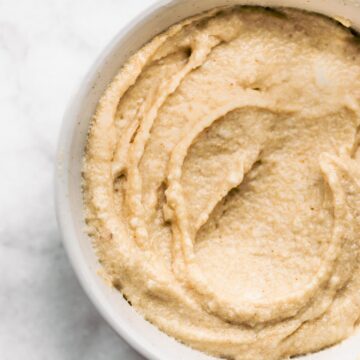
While the pudding chills, prepare the coconut whipped cream filling. Place the solid cream portion of the coconut milk and cream in a stand mixer or mixing bowl. Discard the remaining liquid from the can. The cream should have a thick, cream cheese-like texture.
-
Add the powdered sugar, ½ teaspoon of vanilla extract, and optional butter extract to the cream. Whip/beat on medium speed for 2 minutes or until the batter is mixed thoroughly and light in texture. Place in the fridge.
-
Prepare the topping. Place the chocolate vanilla creme cookies in a bag or food processor, and pulverize until the cookies are crushed and crumbly. Set aside.
-
Remove the pudding and coconut cream mixture from the fridge. Fold the pudding mixture into the coconut cream mixture, and stir until well combined. Adjust to desired sweetness.
-
Pour the pie filling batter into the chilled pie crust. Using the back of a spoon, spread the batter evenly, almost to the edge of the crust.
-
Top with the cookie crumbs and optional chocolate chips.
-
Freeze for 20 minutes to simplify cutting/serving, or place the pie in the refrigerator until ready to eat. Alternatively, freeze for 1+ hours for more of an ice cream cake/frozen pie texture. Freezing Tip – If using our homemade crust (recipe below) be sure to let it thaw out on the counter for 30 minutes before slicing.
-
Store in the fridge for 3-5 days or freezer for up to 3 months.
-
Nutrition below is for entire pie with cookie crust.
Notes
Make sure the canned coconut cream and coconut milk have been chilling in the fridge overnight. This will allow it to solidify enough to whip into whipped cream.
For vegan-friendly, Oreo-type cookies, we use the newest version of Glutino chocolate Vanilla Creme cookies. Enjoy Life Foods also has gluten free/vegan friendly chocolate cookies.
For a store bought gluten free pie crust option, we like this chocolate snap pie crust or this graham cracker pie crust.
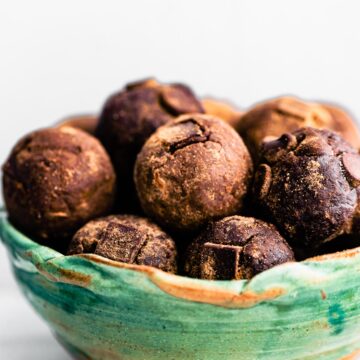
Date Crust Option:
- 1 ½ cups (around 175 grams) pitted dates
- ½ cup gluten free quick oats
- Optional ¼ cup unsweetened shredded coconut
- ⅓ cup unsweetened cocoa powder
- Pinch of sea salt
- 2-3 Tablespoons coconut oil, as needed.
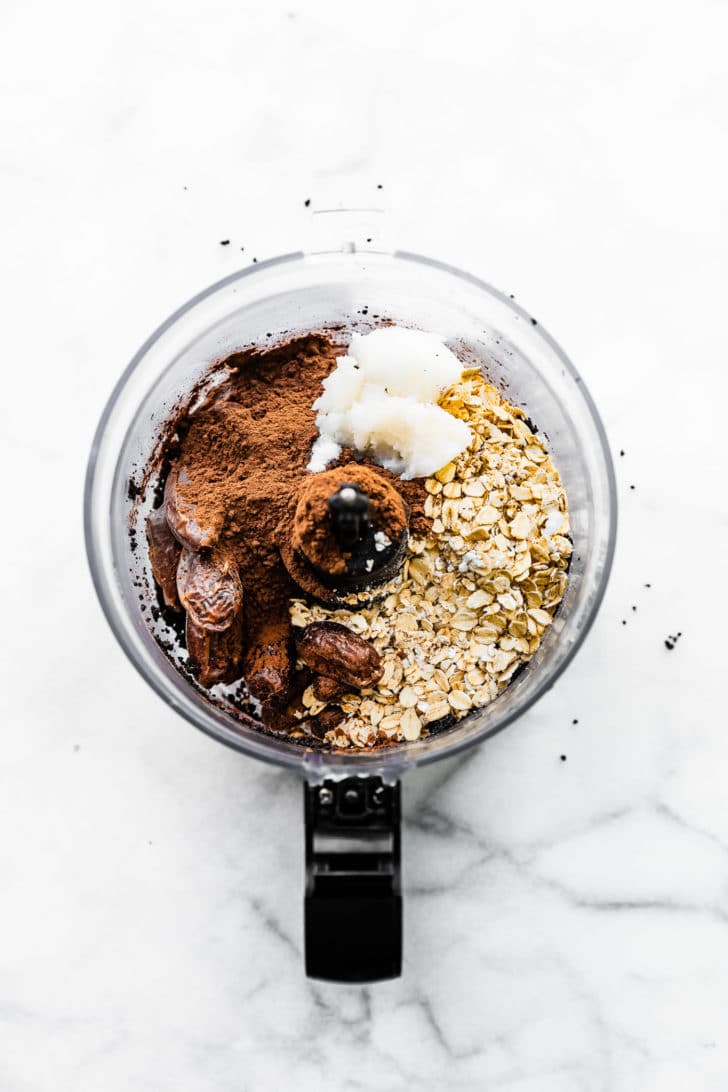
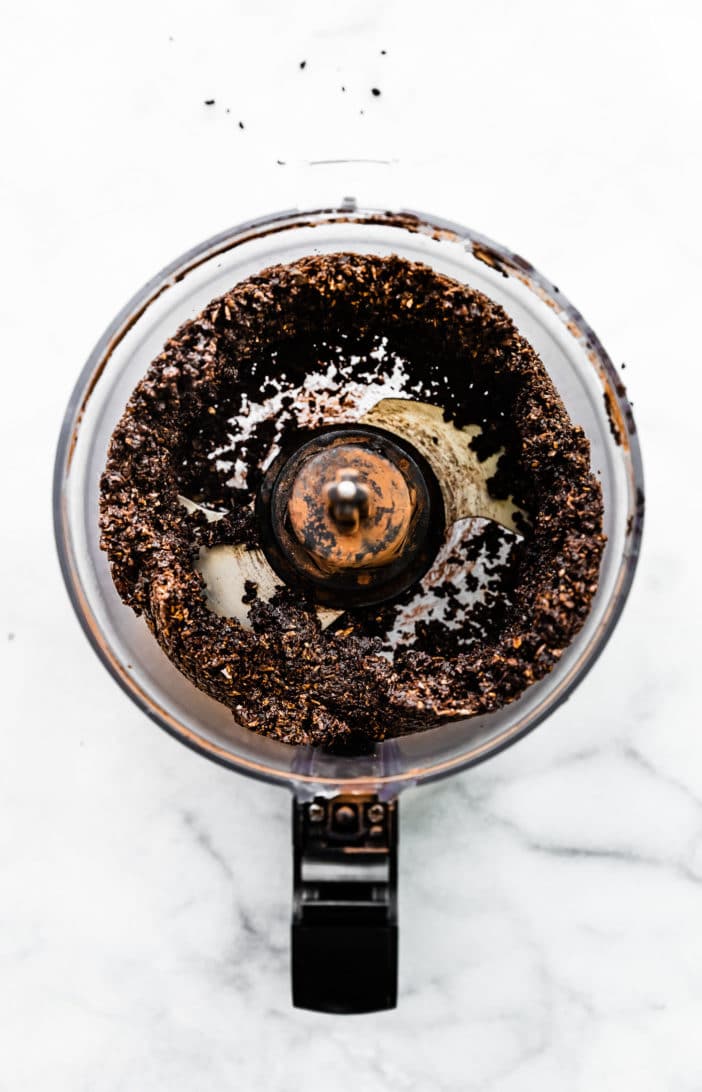
Line a pie tin before adding the crust with parchment paper for easy slicing. Place the dates, oats, optional coconut, cocoa powder, and coconut oil in a food processor or blender. Pulse until the ingredients are well combined and form a coarse sand-like texture. (It should be sticky to touch but easy to transfer to the pie pan.)
Transfer the batter to an 8-inch pie pan, pressing down evenly. Place the crust in the fridge for 30-45 minutes or freezer for 15-20 minutes to set.
- Prep Time: 1 hour +
- chill time: 20
- Cook Time: n/a
- Category: Dessert
- Method: no-bake
- Cuisine: American
Nutrition
- Serving Size: 1 slice
- Calories: 270
- Sugar: 18.4 g
- Sodium: 52.8 g
- Fat: 18.5 g
- Saturated Fat: 14.3 g
- Carbohydrates: 26.4 g
- Fiber: 0.4 g
- Protein: 1.5 g
- Cholesterol: 0.1 mg


Everyone asked for a second piece, it was amazing.
The use of chocolate is so good. I prefer this to my family too
ahh this dish is so good. the chocolate added the more yummy stuff. i loved it.
Thanks! Glad you like it!
Question: is it 1 can (using only the thick cream) or 2 or 3 cans of coconut milk?
If you’re frostong a cake, I would use 2 to 3 cans just in case. I always have it on back up in case one coconut cream canned does not chill properly
Oh oops just commented on wrong recipe. Lol. I use That coconut cream and a frosting as well. So I would chill two cans anyways just in case one does not chill properly. You only need one can of the heart and cream filling for the pie. Does that make sense
My childhood dessert fav!!
Junk Food June. Just Eat Chocolate July. All Soul Food August. Yep, that’s what my summer looks like. The dirt pie will be included somewhere 😉
Maybe we should call it wisdom pie.
Ave ate her first Oreo today (another kid had them). She loved it, of course, although I’d much rather she had this.
OMG!! I am completely obsessed and making this for my kids asap!
Let me know if you do! P.S you kids are so stinkin CUTE!
This is like a grown-ups version of those dirt cupcakes we used to have as kids…except this recipe is SO much better!
You know it! Haha shall I add some gummy worms?
I left Junk Free June in the dust. In fact, I never even really thought about it. Gimme the pie. now.
Haha that’s A okay with me!
We used to call it dirt cake and have it every 4th of July – it was always made with the most awful ingredients – your cleaned up version looks SO GOOD!
Us too! There was not one real ingredient in it. Lol!
OH MY GOSH, I NEED THIS! This hits all of my favorite flavors!
You sure do!!
Ps it’s addictive
I 100% did NOT make it through junk Free June… but I went to Vegas with my mom and it was worth every bit of splurge. LOL!
This pie looks amazing. Did you know Oreos are vegan too? That always cracks me up.
Haha you get a free pass bro! Anytime
I can’t stop staring at these photos ~ gorgeous!!
They are staring back wanting you to take a bite haha
My kids would go crazy over “dirt pie” lol. I gotta make this for the 4th!
This pie looks more than fabulous. It looks DELECTABLE! 🙂 I love creamy pies, but I’ve never made a dairy free one. It’s so impressive Lindsay. And those Oreos sound really good. Glutino is a great brand.
I am all about no bake desserts right now! This pie looks awesome!
Dirt pie was my favorite childhood dessert and it’s about dang time to bring it back! You are so awesome for making this vegan version, Lindsey!
My husband is recently gluten-free for dietary reasons and he sure does miss his desserts. He’s going to freak when I make him this 🙂
let me know if you try it!
Don’t worry about the looks! It looks stunning and I bet it even tastes better! It got everything it needs to be one hell of a pie!
It surely does, thanks! Breakfast of champs today. haha!
YAY for all things no bake! I love that this pie is vegan and it looks absolutely delicious. I am saving this to make for the 4th of July! thank you! 🙂
for sure! No bake for the win.. always!
This looks and sounds amazing. And I just started experimenting with coconut cream and love it. This looks like a recipe I need to try in the near future. Yum.
Isn’t it the best?! Let me know if you try more recipes with it
This looks delicious! I work with a few vegan/dairy-free people and always struggle for what to make for work parties that they will love, too. This is so fun!!
Oh good! Hopefully this will be a hit for them!
Oh my word – Lady – this -THIS – is so hard to resist – I can barely look away – IMO Junk free June will have to wait till 2018 – eh?! 🙂
Yes! But at least we made it 21 days in June! That’s habit forming haha