
These homemade Gluten-Free Cereal Bars are tastier than anything you’ll find in the store and better for you, too! Made with less than ten ingredients, they’re a no-bake recipe both kids and adults will love! Vegan option!

This recipe was adapted from our cookbook, The Gluten-Free Family Cookbook, and posted with permission from Fair Winds Press.
Simple Ingredients & Allergy-Friendly Swaps
You won’t find any brown rice syrup, corn syrup, fructose, or mystery ingredients in this recipe. Instead, we use just a handful of items to create a taste and texture you’ll love. There’s even an option to make them refined sugar-free!
- Nut or Seed Butter – Use any nut or seed butter like peanut butter, almond butter, cashew butter, or sunflower seed butter to form the base of the bars and act as “glue” holding the rest of the ingredients together.
- Maple Syrup or Honey – This helps enhance the sweetness of the bars while also holding the ingredients together. If preferred, agave nectar can be substituted for a vegan option.
- Sugar – Adjust as needed to suit your tastes. Feel free to use a sugar-free substitute like Lakanto Monk Fruit Sweetener or Stevia instead!
- Vanilla Extract – Use pure vanilla extract. Trust us. You can taste the difference!
- Sea Salt – Just a pinch helps bring out the flavor of the rest of the ingredients.
- Unsweetened Shredded Coconut Flakes – This adds a chewy texture and extra flavor.
- Gluten-Free Cereal – We love Eat Love Bird, but any gluten-free cereal can be used.
Note: Dry cereal made with shapes similar to Cheerios, Chex, Rice Krispies, or puffed rice work best.
Flavor Variations
Feel free to mix and match different ingredients to add extra nutrients and switch up the flavor of these cereal bars! For example, some of our favorite mix-ins include:
- Cocoa Powder
- Protein Powder
- Freeze-Dried Fruit (raisins, cranberries, strawberries, etc.)
- Dark Chocolate Chips or White Chocolate Chips
- Mini Marshmallows
You can also try swapping your favorite cereal flavors and adding a drizzle of chocolate on top!
How to Make Cereal Bars
One batch of this recipe makes up to 12 bars and is ready in less than an hour! Here’s what to do:
- Prepare. Line a baking pan with parchment paper, and grease it with cooking spray.
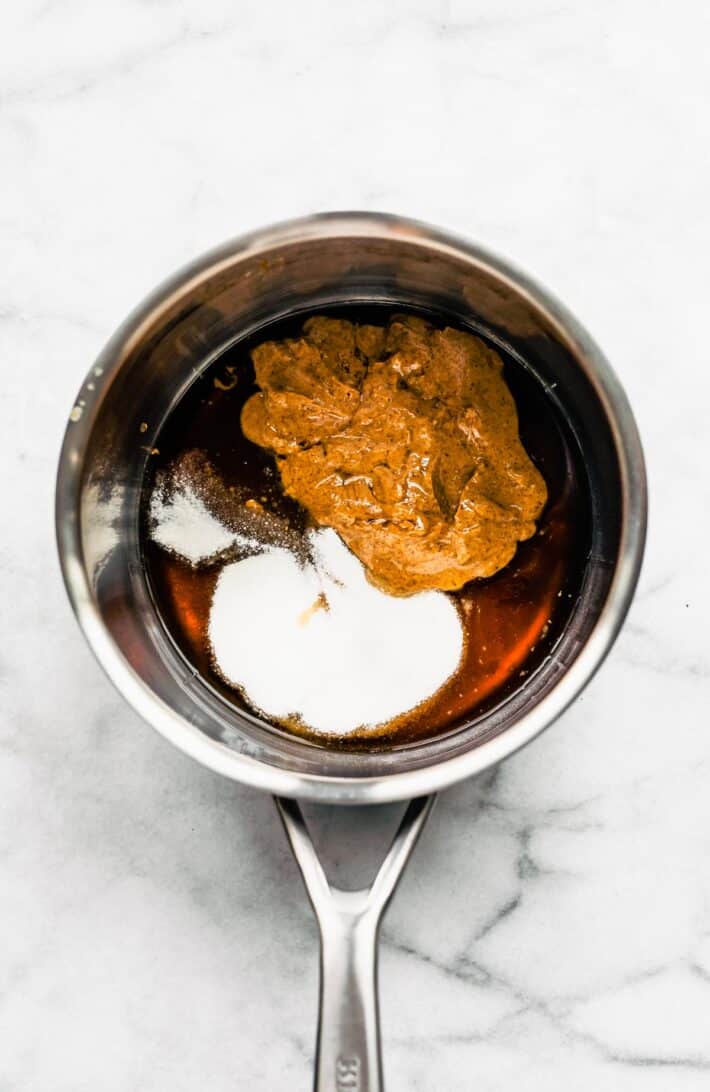
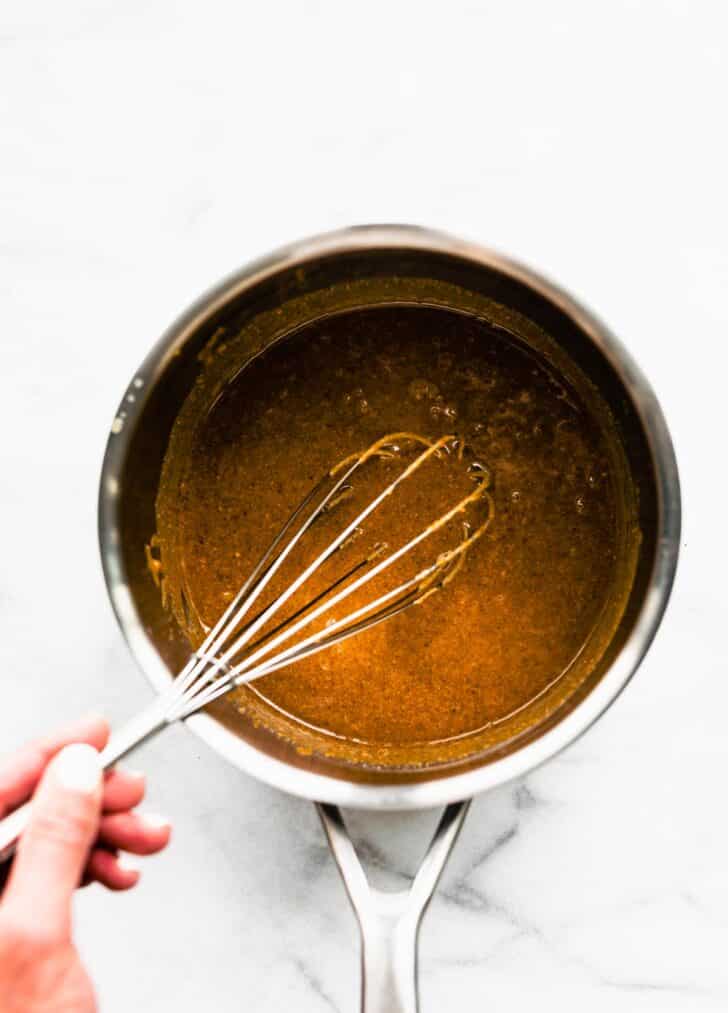
- Boil. Add the nut butter, honey, and sugar to a large saucepan over medium-low heat on the stovetop. Heat the mixture until it comes to a boil, stirring constantly. Remove the saucepan from the heat, and stir in the vanilla and salt.
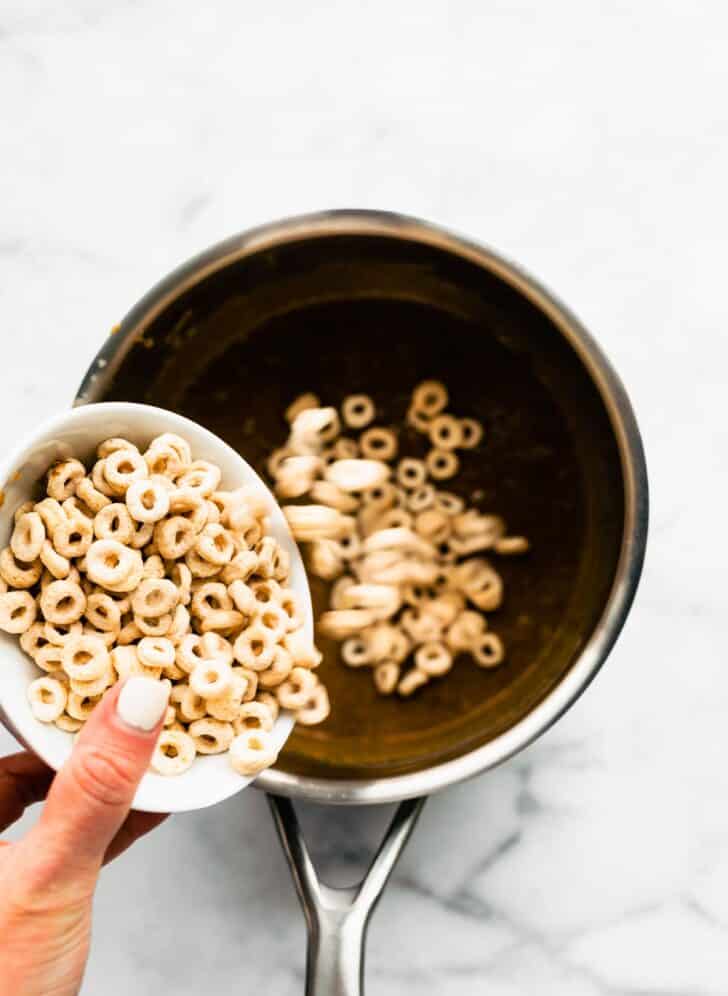
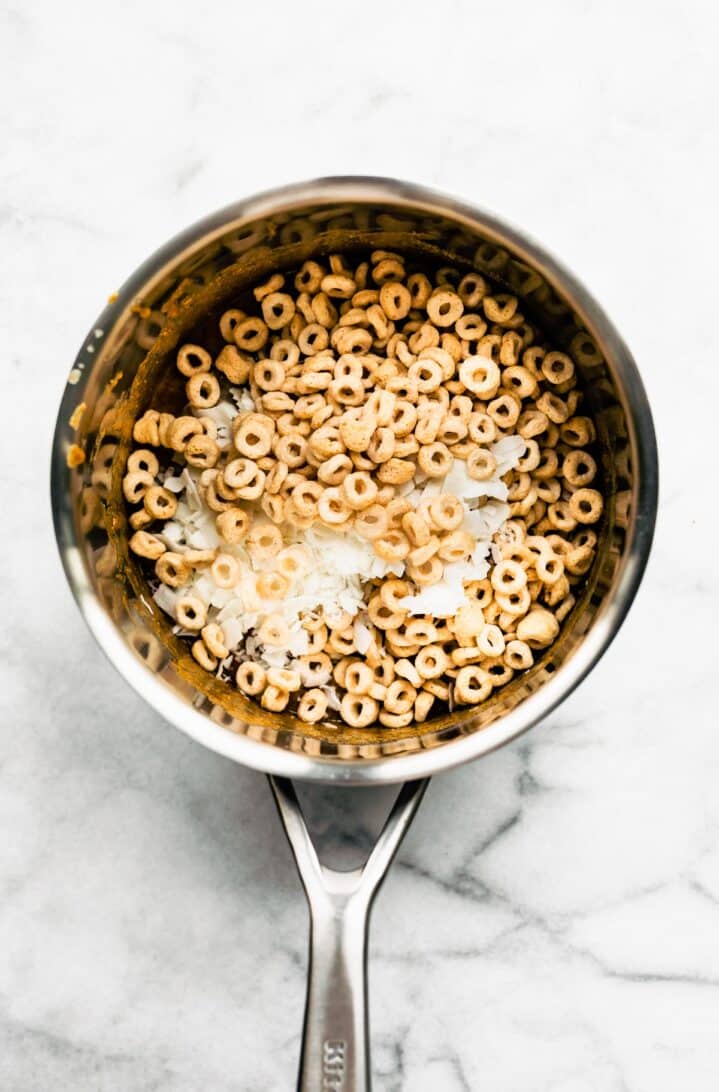
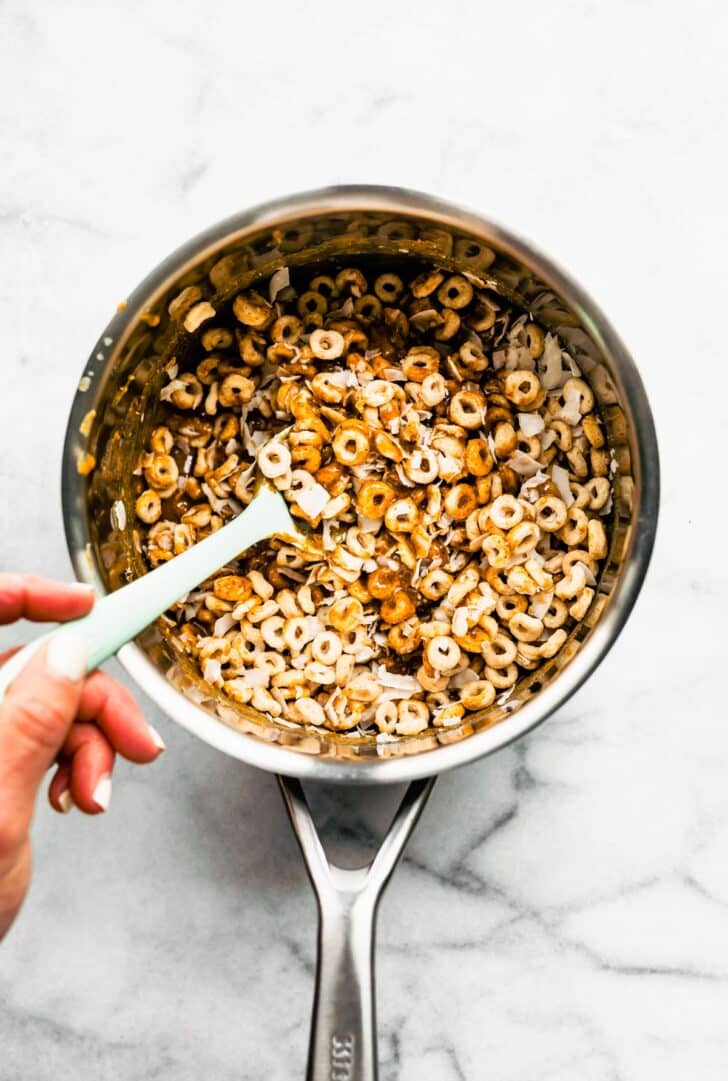
- Stir in the Remaining Ingredients. Stir in the coconut and cereal as you would with the marshmallow mixture of Rice Krispie treats, making sure they’re coated evenly.
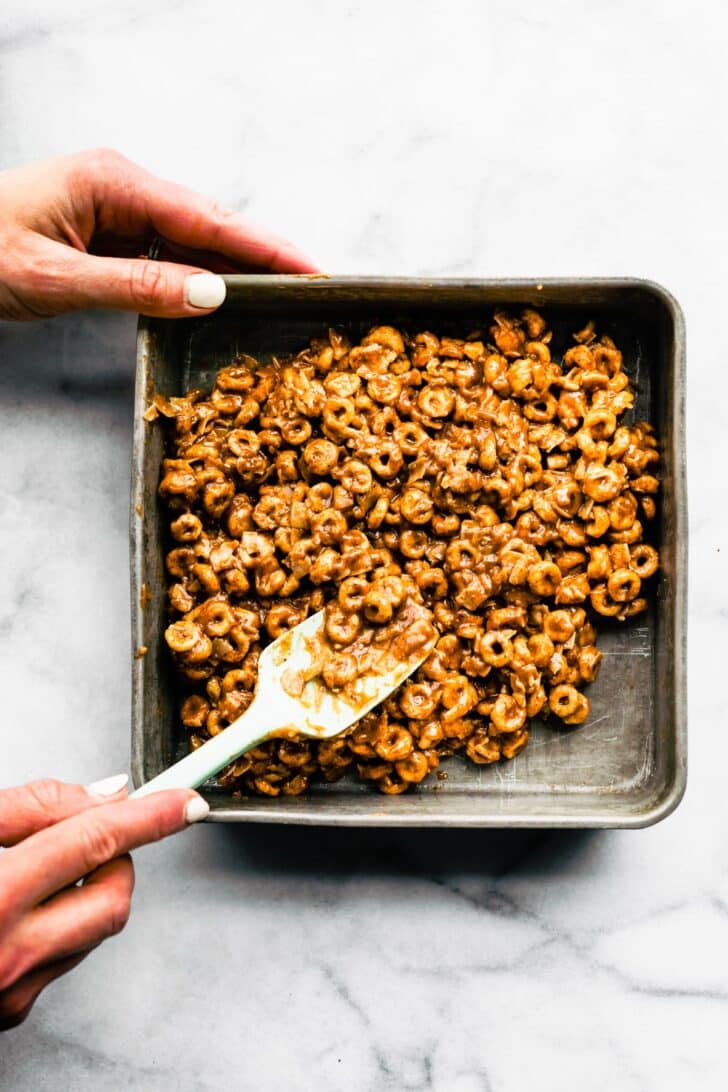
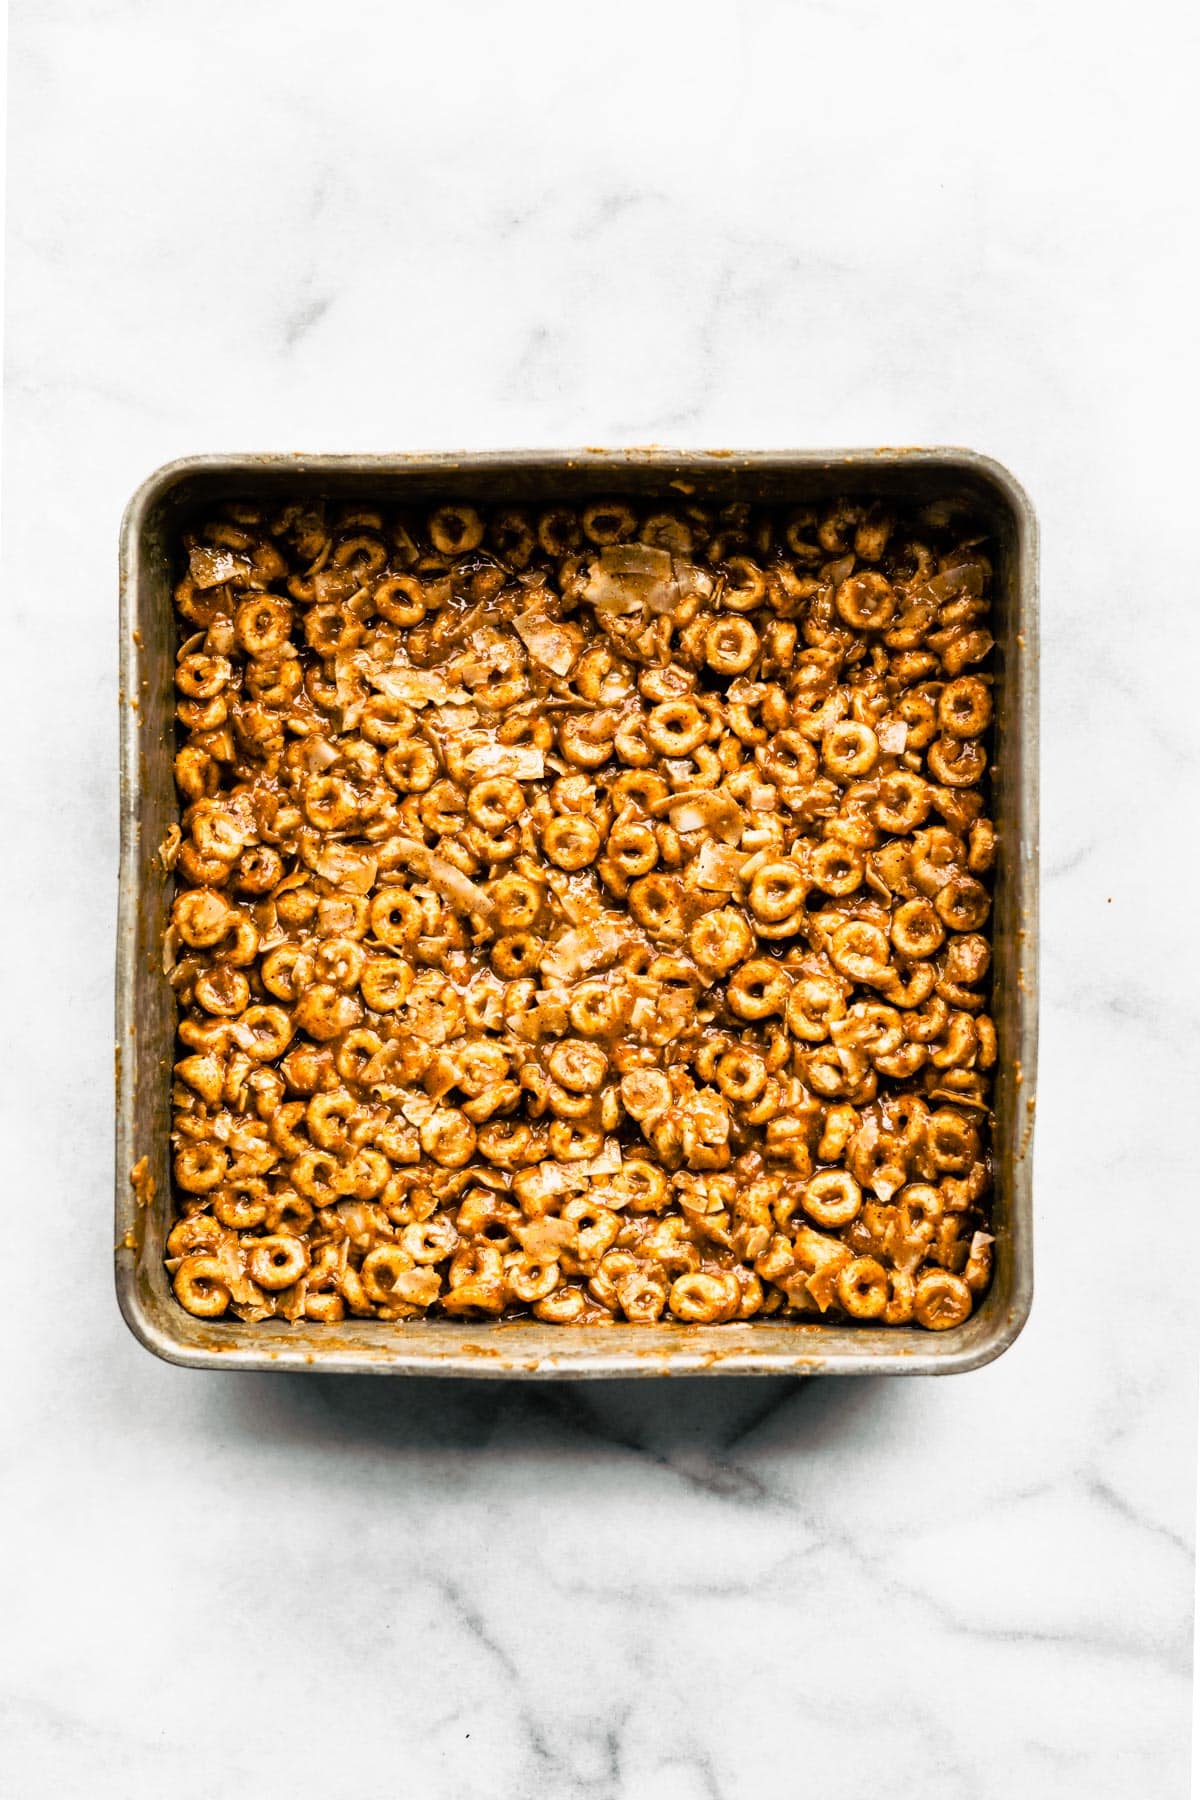
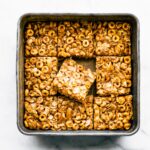
- Transfer the Batter. Transfer the batter to the prepared baking dish, and gently press it down in an even layer with a spatula or your hands.
- Chill. Transfer the pan to the fridge, allowing the cereal bars to chill and set. Then, slice, serve, and enjoy!
Tips for Success
- Use a Silicone Spatula. A silicone spatula works best to combine the ingredients without creating a sticky mess.
- Work Quickly. Have all the ingredients on hand, and work quickly to mix the ingredients and prepare the bars before the mixture cools and begins to set.
- Don’t Crush the Bars. You want to make sure to press the bars down firmly so they hold their shape but be careful not to crush the cereal.
- Adjust the Ingredients. If the bars are too sticky, add more cereal. Alternatively, if they’re too dry, mix in more nut butter or honey until they hold their shape.
Common Questions
Healthy looks different to everybody. However, as far as the standard cereal bar goes, this recipe is a pretty healthy option! It’s full of fiber and healthy fats to keep you satisfied and full. Plus, cereal is often enhanced with vitamins and nutrients like folic acid, riboflavin, and thiamin.
The nut butter and naturally caramelized raw sugar and honey help hold the bars together.
Stored in an airtight container or wrapped with plastic wrap, these cereal bars will stay fresh at room temperature for up to 1 week or in the refrigerator for up to 2 weeks. Or, for a longer-lasting option, wrap them up in wax paper, and freeze them for 1-2 months!
There’s never a bad time for this recipe! It’s perfect for quick breakfasts, lunchbox treats, after-school snacks, and even desserts.
More of Our Favorite
Gluten-Free Snack Recipes
Looking for more healthier snack recipes? We’ve got you covered with these family-friendly options!
Gluten-Free Cereal Bars (Vegan Option)
- Total Time: 45 minutes
- Yield: 9 to 12 bars 1x
Description
Make these no-bake gluten-free cereal bars with just seven ingredients in under an hour for a better-for-you snack perfect for every occasion!
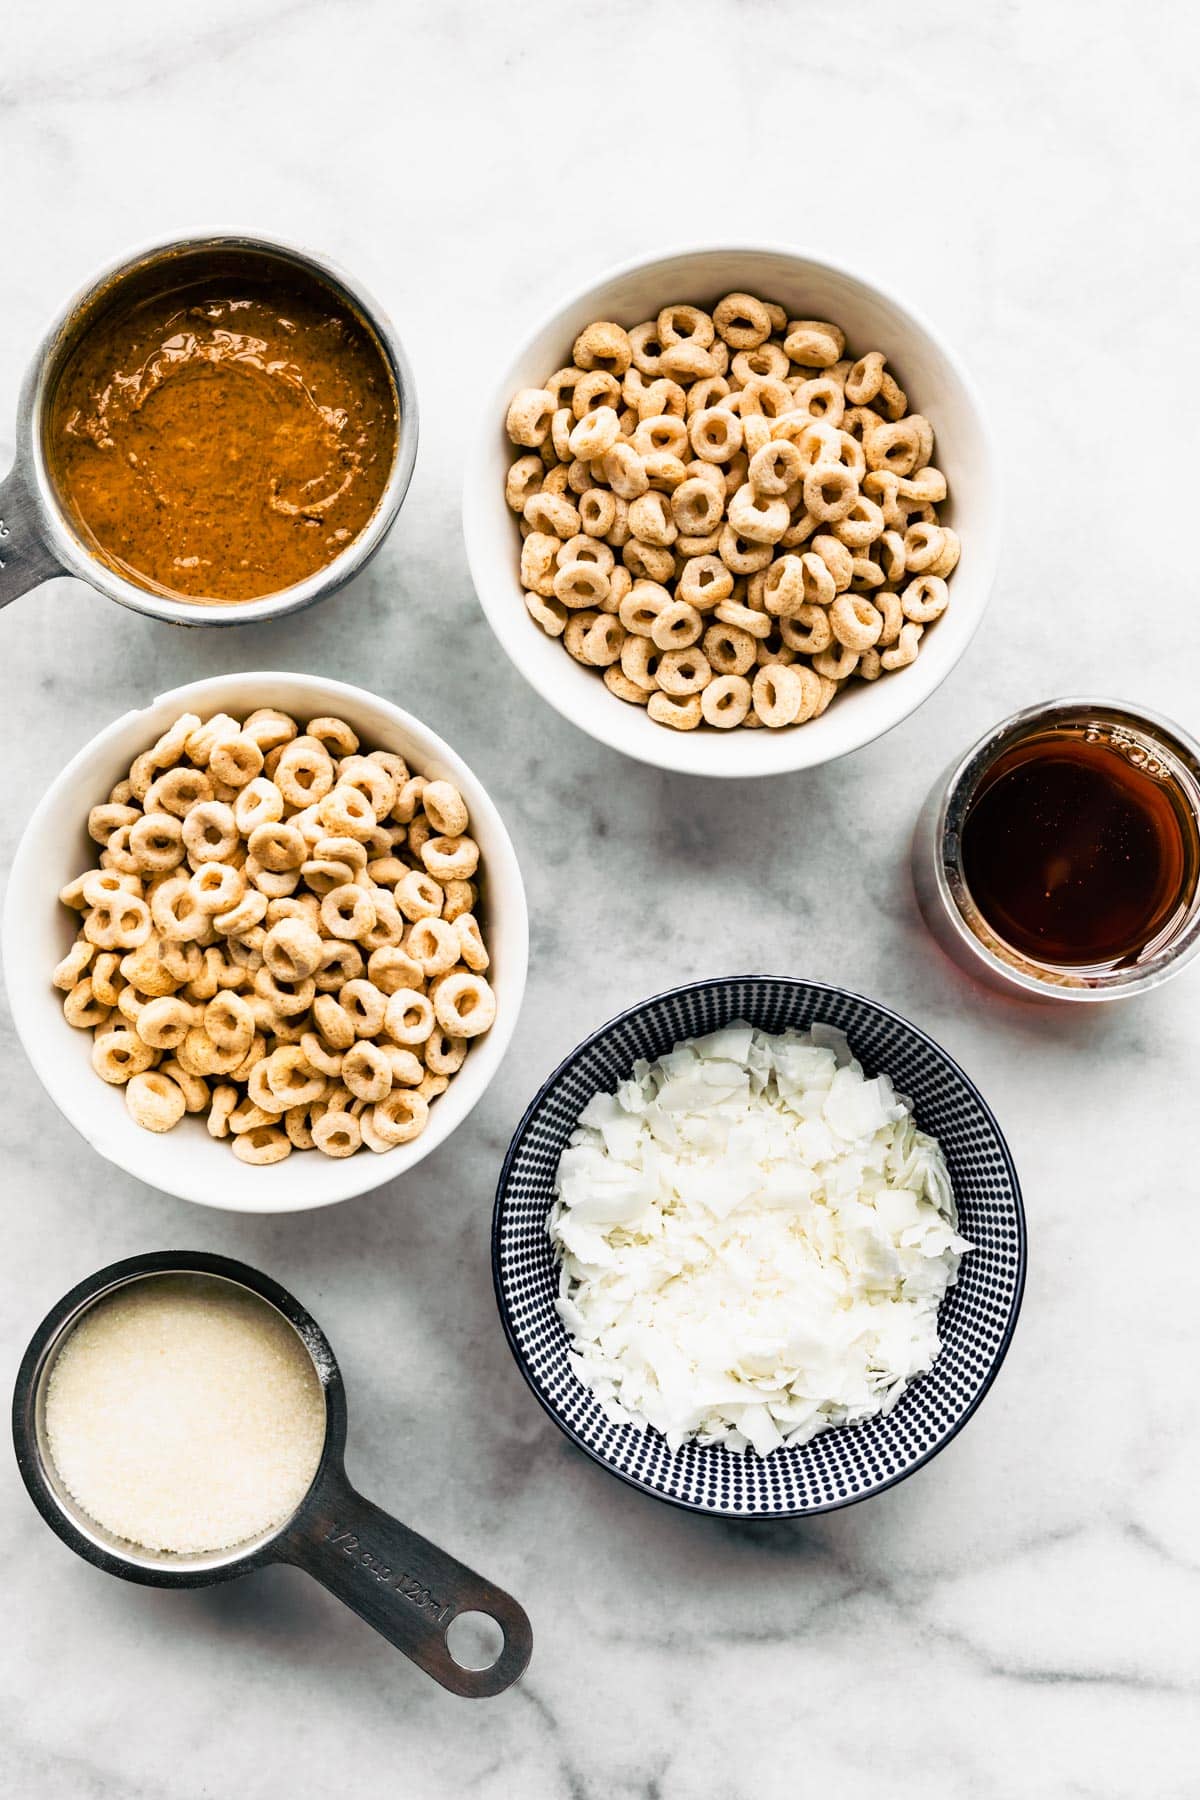
Ingredients
- ⅔ to ¾ cup (170 g) creamy almond butter, cashew butter, or sunflower seed butter
- ⅔ cup (230 g) honey or maple syrup
- ⅓ to ½ cup (100 g) raw sugar (cane sugar) or sugar substitute
- 1 teaspoon pure vanilla extract
- Pinch sea salt
- 2 cups (170 g) unsweetened shredded coconut
- 2 cups gluten-free cereal (cereal made with a similar shape to Cheerios, Chex, or puffed rice work best)
- Optional Mix-ins – cocoa powder, protein powder, freeze-dried fruit, dark chocolate chips
Instructions
- Line an 8 x 8-inch (20 x 20 cm) baking pan with parchment paper or spray it with cooking spray.
- In a large saucepan over medium-low heat, whisk together the nut butter, honey, and sugar. Heat the mixture until it comes to a boil, stirring constantly.
- Remove the saucepan from the heat. Stir in the vanilla and salt.
- Working quickly, use a silicone spatula to gently stir in the coconut and cereal. Mix until evenly coated with the nut butter mixture.
- Transfer the batter to the prepared baking pan. Gently press it down using a spatula or your hands. Place the baking pan in the fridge to chill the mixture for 30 to 45 minutes.
- Remove from the fridge and cut into bars. Store sliced bars in an airtight container in the pantry for up to 1 week or in the fridge for 2 weeks.
Notes
Storage Tips – Freeze these bars for up to 2 months by wrapping them in wax paper and putting them in an airtight container or plastic bag.
- Prep Time: 10 minutes
- Chill Time: 30 minutes
- Cook Time: 5 minutes
- Category: Snack
- Method: Stove Top
- Cuisine: American
Nutrition
- Serving Size: 1 bar
- Calories: 227
- Sugar: 17.7 g
- Sodium: 41.9 mg
- Fat: 13.9 g
- Saturated Fat: 6.6 g
- Carbohydrates: 25.6 g
- Fiber: 3.1 g
- Protein: 3.9 g
- Cholesterol: 0 mg


Can you omit the sugar altogether, if the honey/maple syrup adds enough sweetness? Or does it affect the binding of them all together?
Hi Elle! The sugar does help to bind the bars. I haven’t tried making them without but you could. It just might be more sticky than soft and chewy if that makes sense.