These gluten free cinnamon rolls are fluffy and soft, with a sweet filling and icing. Make this gluten free brunch recipe for the holidays! Vegan and Egg-free option included.
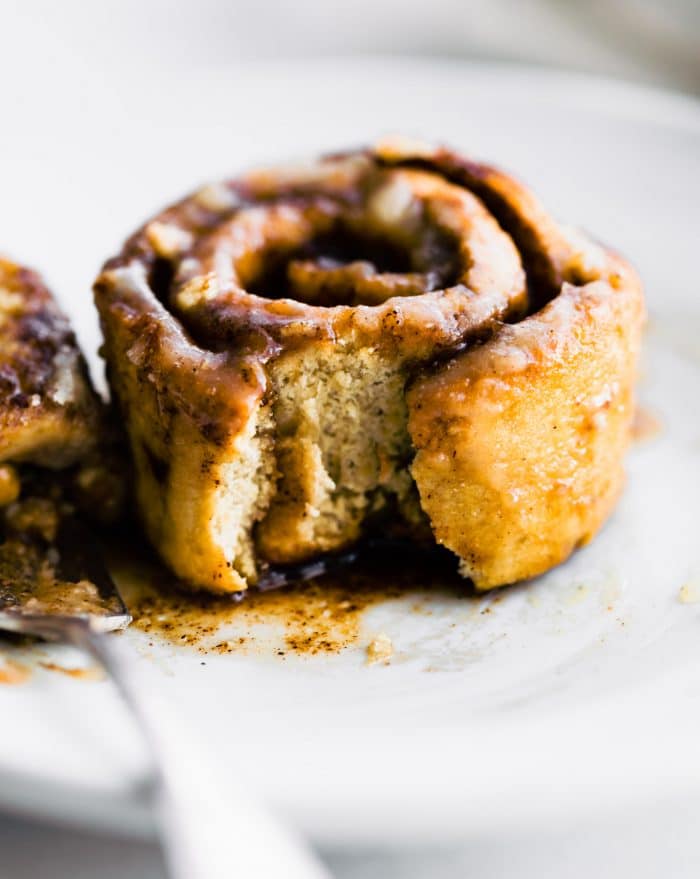
Gluten free cinnamon rolls recipe testing
This recipe was tested over 16 times – yes, I am completely serious!
To be absolutely sure that you have the very best cinnamon rolls, we tested this recipe:
- With yeast and without yeast – ALSO, using active dry yeast versus instant (rapid rise) yeast
- Using an egg and no egg
- Adding xanthan gum versus using gluten free flour that has xanthan in it.
To be honest, they all taste delish! The difference is in the texture of the final product. Obviously, no yeast means a heavier, denser roll, which isn’t what we were looking for. SO, we narrowed things down and now the recipe is PERFECT!
- For a softer, fluffier texture like you find in a traditional cinnamon roll, make the rapid rise yeast version, and use an egg.
- The vegan cinnamon rolls (without egg) are equally delish but more like a sticky bun texture.
- Either way, be sure to serve them warm and hot out of the oven (with glaze) for best results. Another benefit is that you can make the batter ahead of time, very easily!
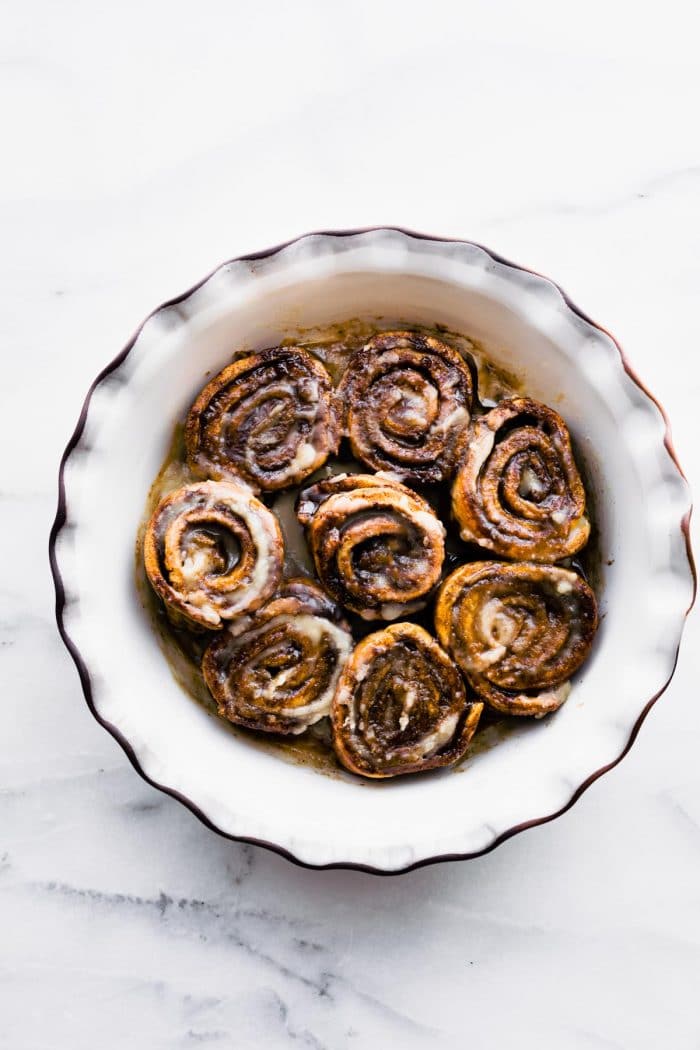
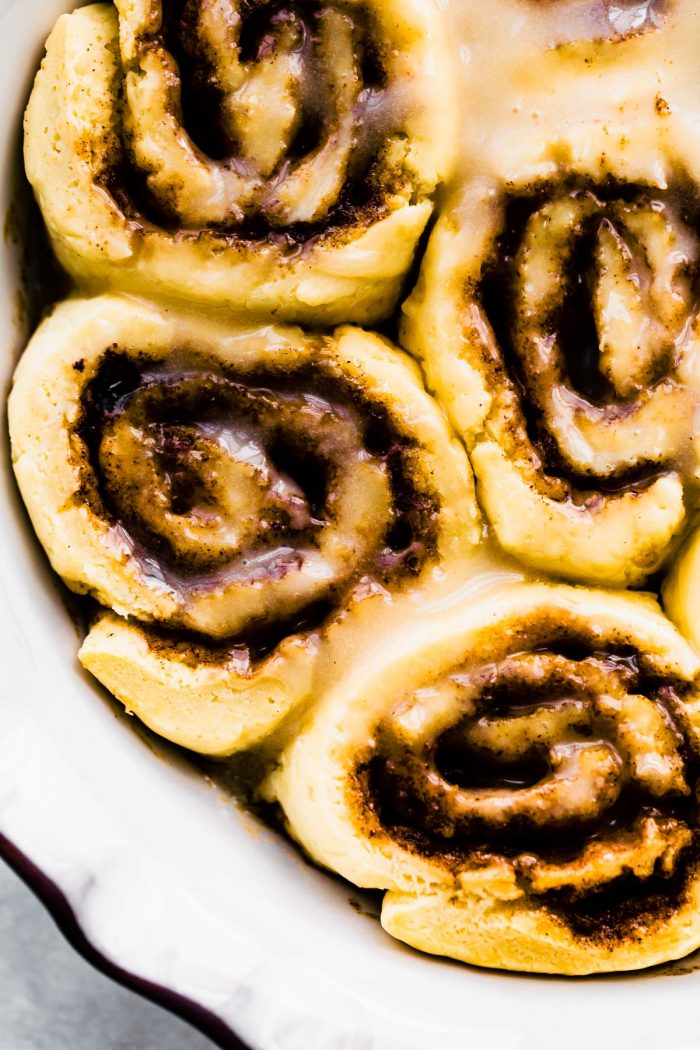
How to make cinnamon rolls
To make the vegan/egg free version, see the recipe card notes. You will need to apple cider vinegar or lemon juice and adjustment the first step. The rest of the recipe is exactly the same.
- Make the dough. For the best results, use an electric stand mixer to combine the ingredients. When you mix ingredients by hand, it can be really easy to overwork the dough, which causes the rolls to be hard and chalky tasting.
- Knead the dough -Knead the dough using a dough hook attachment, and only for only 2-3 minutes. The dough should be similar in consistency to pizza dough.
NOTE: If the dough seems too dry (depending on the kind of flour you’re using), add a tiny bit of water.
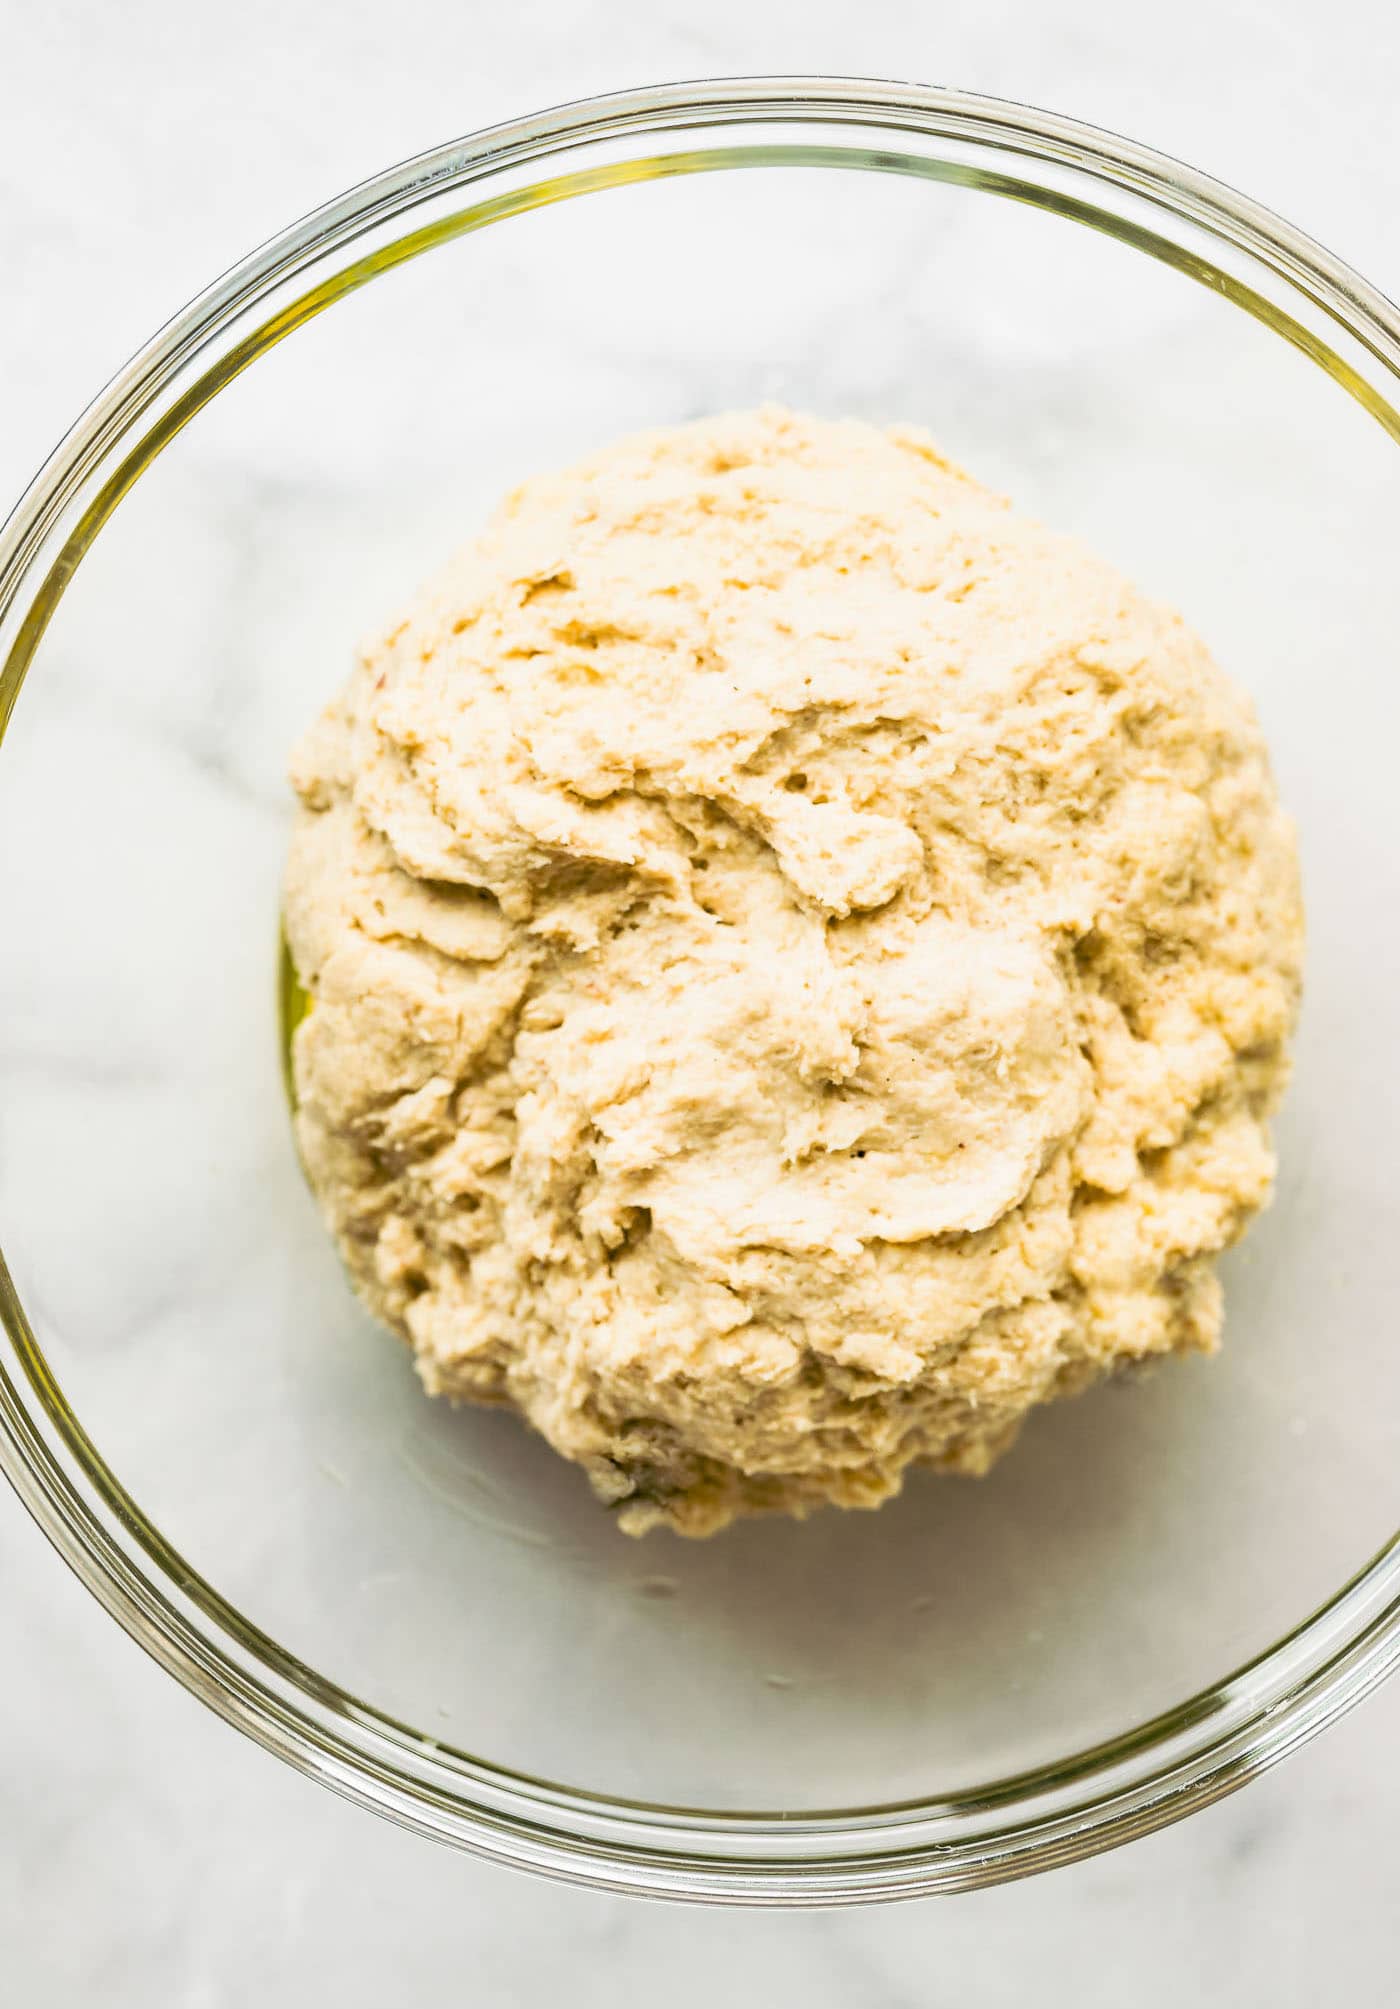
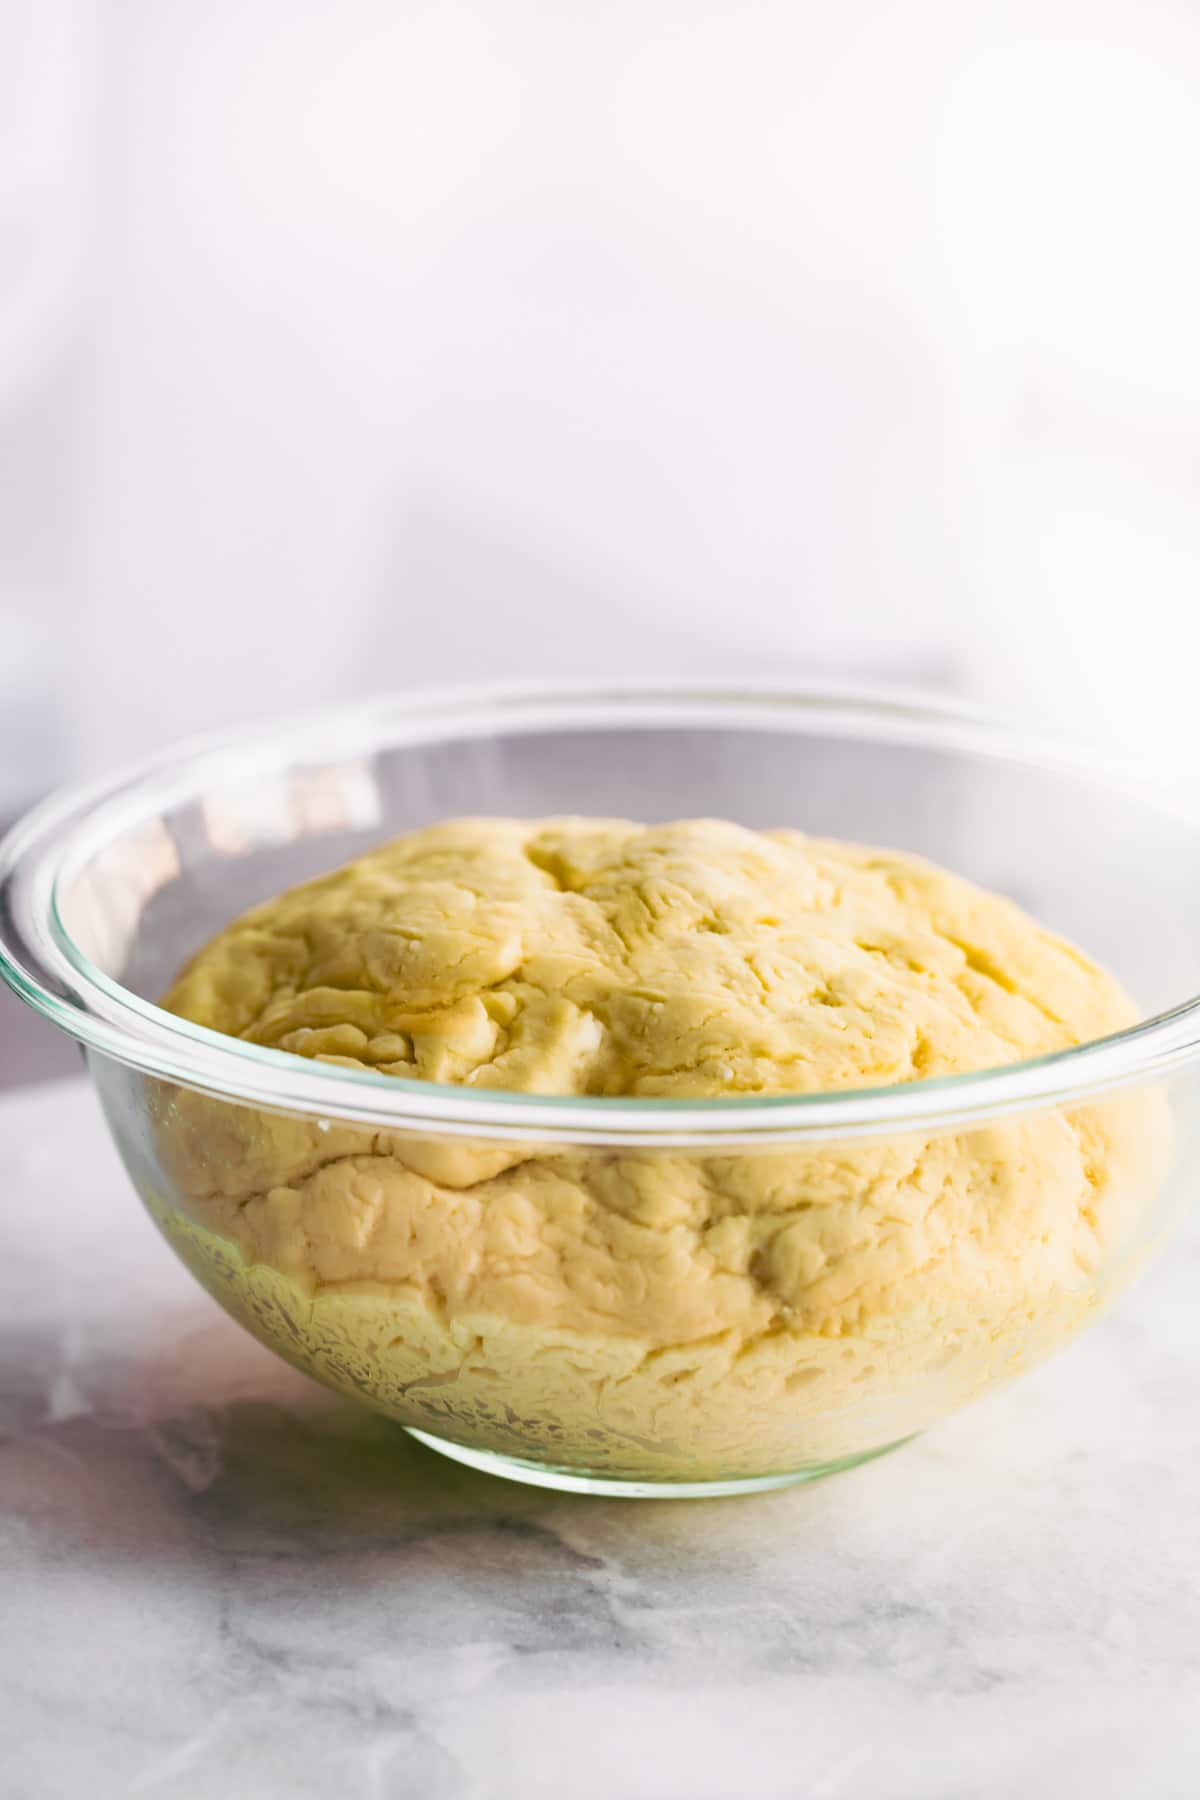
- Shape and rise the dough. With well-floured hands, shape the dough into a ball and place it in an oiled bowl. The texture will be similar to sticky playdough. Cover the bowl with a kitchen towel and place it in a warm place until the dough doubles in size. This usually takes 70 to 90 minutes, but it could be longer if your environment is cold or too dry.
TIP: If you live in a cold climate, preheat your oven to its lowest temperature for a couple of minutes, then turn it off. Then, let the dough rise inside the warm oven.
Filling, slicing, and baking
- Make the filling. While the dough is rising, make your filling. Just combine the sugar, cinnamon, pinch of sea salt, and softened butter. You should have a thick, paste-like texture. Set it aside until your dough is ready to roll out.
- Roll out the dough and add filling. You’ll want a rectangle that is approximately 10×12 inches, and about ⅓ to ½ inch in thickness. I like to place wax paper on top, then use a rolling pin to roll it out.
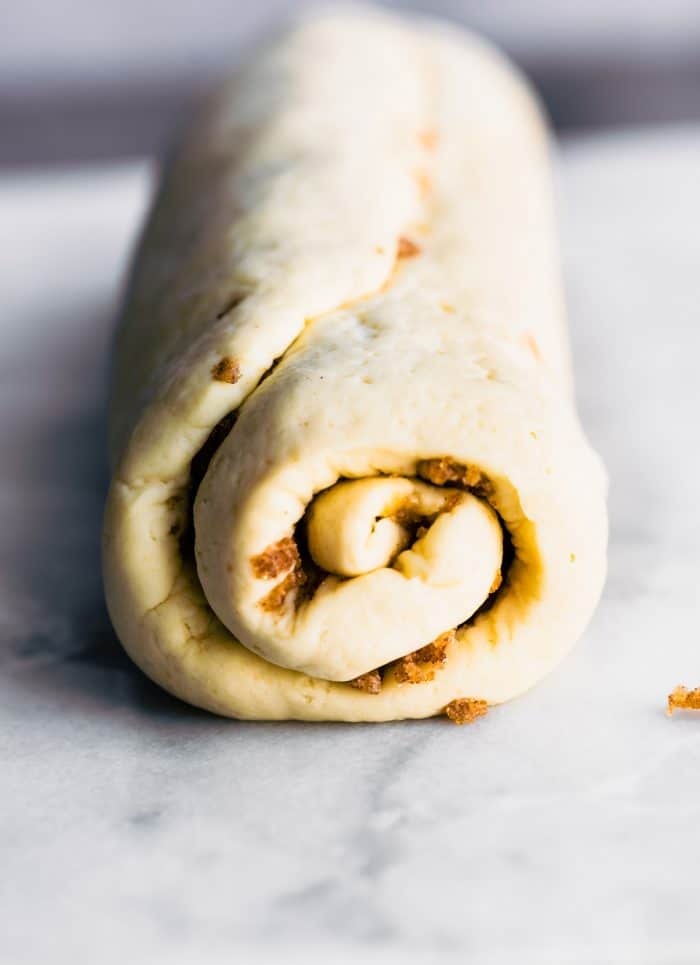
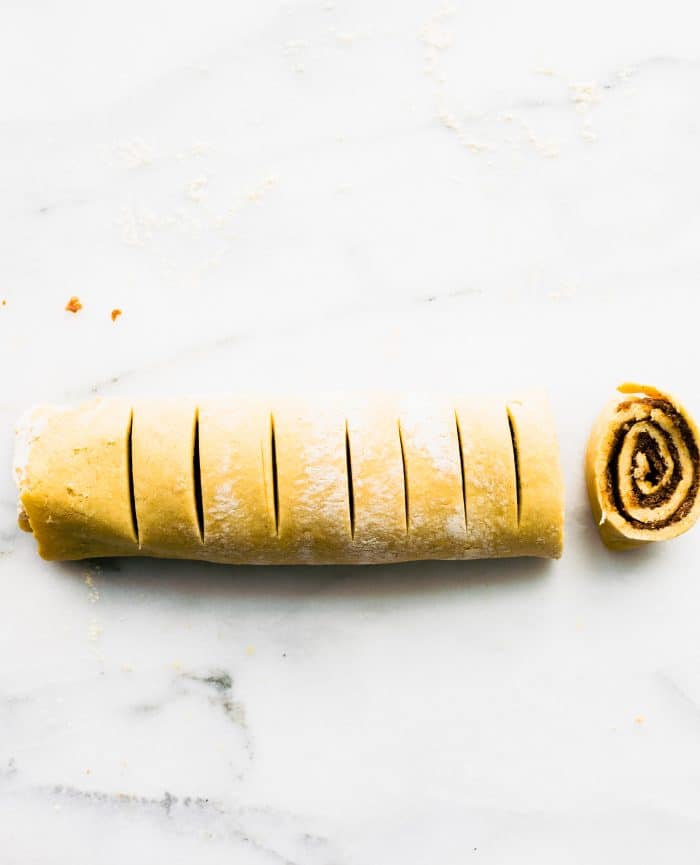
- Roll. Brush the dough with some melted butter, then spread the filling out onto the dough, leaving ½-inch space as a border.Starting on the longer side of the dough, gently roll the dough into a tight log.
- Pinch and Slice. Gently pinch the seam down to seal on both ends. Then cut the ends off so you can create even slices. I like to freeze the dough for 20 minutes so it’s easier to slice (noted below). Then slice the dough into 10 or 12 slices.
NOTE: If the dough seems too soft to slice, place it in the freezer for 10 to 15 minutes to firm up.
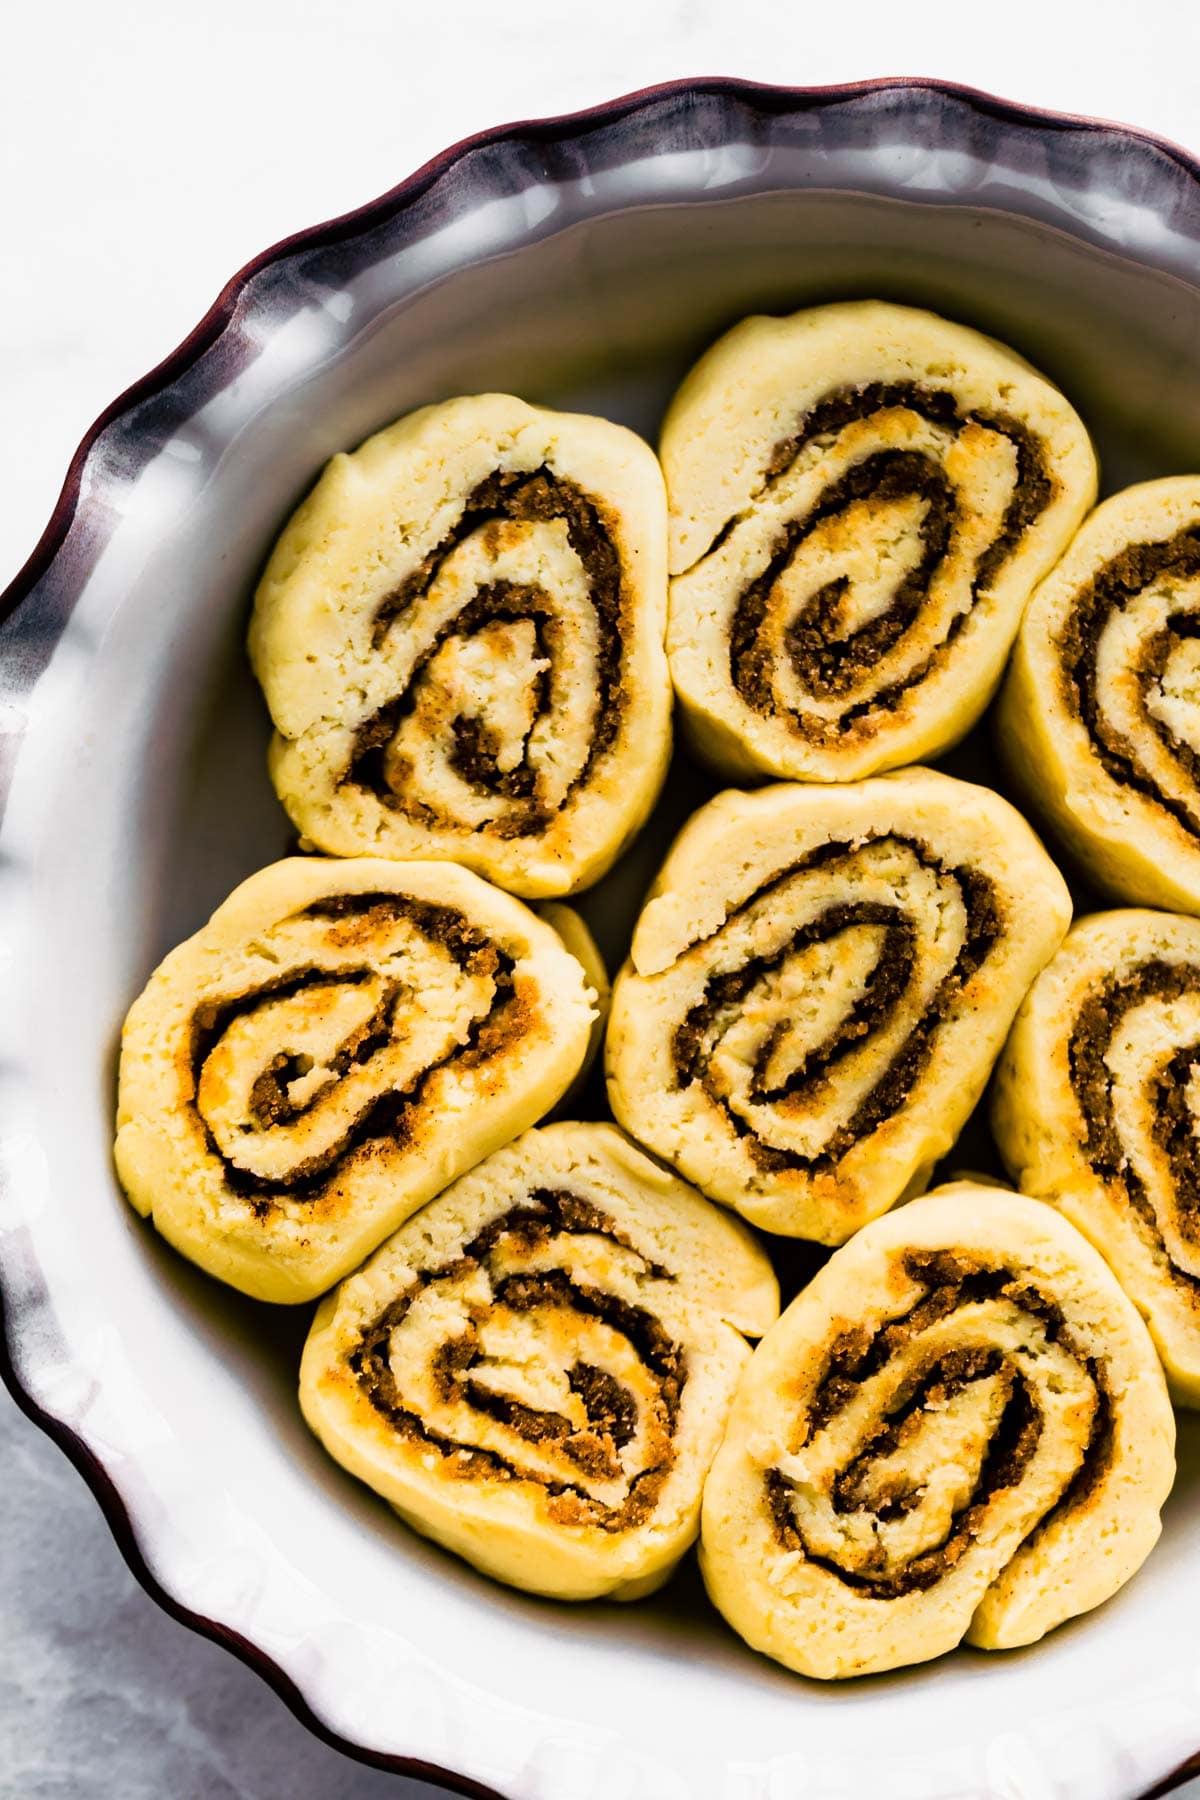
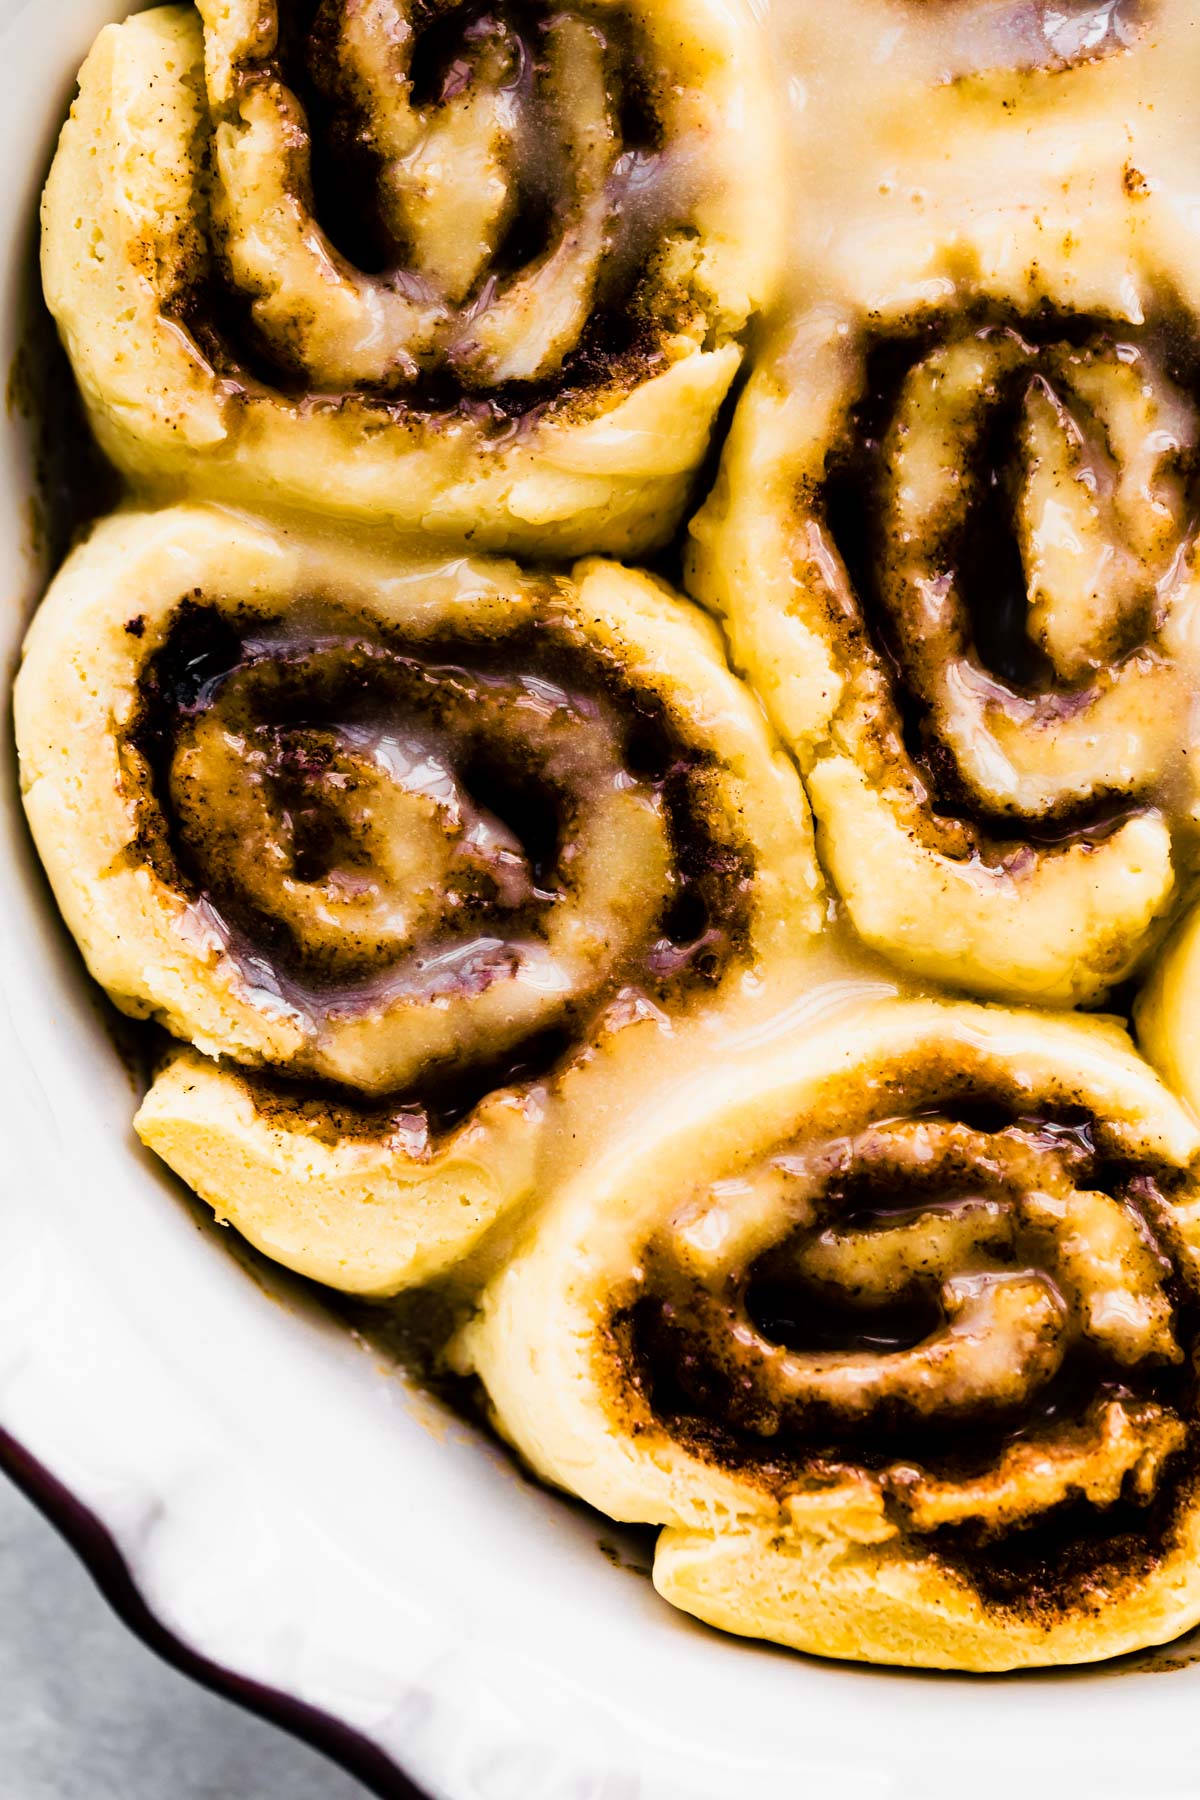
- Let the Rolls Rise again. The second rise takes about 30 minutes, but don’t expect them to double in size again. They may barely rise at all, but they WILL rise!
- Bake, top with icing, and serve! After that, put them into the oven to bake for about 20 to 25 minutes. While baking, make the the icing. Once the rolls are done baking, remove from oven and immediately add the icing. Serve warm.
Cinnamon Roll Icing Options:
- If you can tolerate dairy products, feel free to make regular cream cheese frosting, or powdered sugar icing.
- If you need a dairy free option, I recommend using my recipe for sweetened vegan condensed milk or vegan cream cheese frosting.!
Gluten free cinnamon rolls recipe tips
- Don’t Overmix the batter.
- Flour is your friend! The cinnamon roll dough is VERY sticky. Fortunately, there isn’t gluten in the flour, so feel free to use a LOT of it to prevent the dough from sticking to your hands, counter top, and clothing.
- Chill! If your batter becomes too sticky to work with (after you add the yeast and milk) then place it in the fridge or freezer for 10 minutes. Or, flour your hands VERY VERY WELL so you can roll the dough into a ball before letting it rise.
- Stand mixer recommended. Using a stand mixer will give you the best results with the smallest amount of effort. Also, it keeps the flour blend more consistent.
- Tip for easier rolling. If the dough is too dry to roll, lightly wetting your fingers with water will help. Or, use flour if the dough is too sticky.
Gluten free cinnamon rolls are the BEST way to celebrate any occasion, but I highly recommend them for a gluten free brunch recipe on Christmas morning or New Year’s day!
Print
Gluten Free Cinnamon Rolls (Vegan Option)
- Total Time: 2 hours 20 minutes
- Yield: 10–12 servings 1x
- Diet: Gluten Free
Description
These gluten free cinnamon rolls are fluffy and soft, with a sweet filling and icing. Make this gluten free brunch recipe for the holidays!
Ingredients
Dough
- 2 ½ cups (350 grams) gluten free all purpose flour (preferably without xanthan gum)
- 2 ½ teaspoons instant yeast
- 1 ½ teaspoons xanthan gum (if your flour already has xanthan in it, reduce to ¼ teaspoon)
- 1 teaspoon salt
- 4 Tablespoons (50 grams) sugar
- 1 cup warm non dairy milk milk
- 3 Tablespoons butter, melted + extra to brush dough (vegan butter or refined coconut oil may be substituted)
- 1 large egg, whisked
Filling
- ⅓ –½ cup packed coconut sugar or brown sugar (SEE NOTES)
- ⅓ cup raw sugar or sugar substitute
- 2 teaspoons cinnamon
- Pinch sea salt
- 2 Tablespoons butter, softened (vegan butter or refined coconut oil softened at room temp maybe be substituted)
Glaze
- 1 ½ cups powdered sugar or powdered sugar substitute
- 1 ½ Tablespoons melted butter (vegan butter or refined coconut oil may be substituted)
- 2–3 Tablespoons non dairy milk/cream OR my recipe for sweetened vegan condensed milk, heated and poured on top
Instructions
NOTE: If making the vegan/egg-free version, see notes below. You will just need to adjust the first step.
- In a large mixing bowl or stand mixer bowl, whisk/sift together the gluten free all purpose flour, yeast, salt, sugar, and xanthan gum.
- Add warm milk, 3 Tablespoons melted butter (or coconut oil), and the whisked egg to the bowl/stand mixer, and mix until combined.
- Knead the dough for only 2-3 minutes (you don’t want to overmix) in the stand mixer with a dough hook. The dough should be similar to pizza dough. If the dough seems too dry (depending on the kind of flour used), add a tiny bit of water.
- With well-floured hands, shape the dough into a ball and place in an oiled bowl. Texture will be similar to sticky playdough. Cover bowl with cotton towel and place in a warm place until dough doubles in size. The dough usually takes 70 to 90 minutes to rise. Longer if your environment is cold or too dry. *SEE NOTES
- While the dough is rising, make the filling. In another bowl, mix together the coconut and raw sugar, cinnamon, pinch of sea salt, and softened butter. This should form a paste-like texture. Set aside.
- Once your dough has doubled in size, remove it from the bowl and place it on a well-floured surface. I cannot emphasize this enough; FLOUR IS YOUR FRIEND when you roll this dough. So, keep the surface floured.
- With floured hands, spread the dough into a large rectangle. (10×12 inches), about ⅓ to ½ inch in thickness. I like to place wax paper on top, then roll with a rolling pin.
- Once you have the dough rolled out into a rectangle, brush the center with ½ to 1 Tablespoon melted butter, then spread the filling out onto the dough, leaving about ½-inch space from the border.
- Starting on the longer side of the dough, gently roll the dough into a tight log. Lightly wet your fingers if the dough is too dry or use flour if the dough is too sticky. Gently pinch the seam down to seal on both ends. Then cut the ends for even slices. If the dough seems too soft to slice, then place the dough in the freezer for 10 to 20 minutes. If it’s firmer, then proceed to slice the dough into 10 or 12 slices.
- Place rolls in a well-oiled or lined pan or baking dish. Cover with a towel and place in a warm place to rise for another 30-45 minutes. They won’t rise much, but they will rise! Alternatively, you may place it in the fridge (covered) to bake at a later time.
- While the dough is rising, preheat the oven to 350° F. After the dough has risen a second time (anywhere between 30-60 minutes), place the baking dish in the oven and bake until the edges begin to golden, about 20-25 minutes (see notes for tips).
- While the cinnamon rolls are baking, make the glaze. Whisk together glaze ingredients in a small bowl. Set aside.
- Remove rolls from the oven lightly drizzle the glaze over the warm cinnamon rolls and enjoy! Top rolls with crushed nuts, if desired.
Notes
Baking Tip – I usually rotate the pan halfway through baking for even heat flow. But that depends on your oven. Total baking time is about 20 minutes.
Dough Rising Tip – Preheat the oven for 1 minute, then turn it off. Place covered dough in the oven with light on to help it rise.
Filling – If you end up using a higher volume of filling, it will leak out into the pan and soak into the bottom of the cinnamon rolls, almost like sticky buns. It’s delicious though!
Make Ahead – The dough can be made ahead and placed in the fridge for next day use. You may also make the dough, let it rise the first time, roll out, add filling, roll into a log, cover with plastic wrap, then place back in the fridge to bake later (up to the next day).
Vegan/Egg Free Version – Combine warm milk and 1 Tablespoon apple cider vinegar. Set aside to curdle for 5-10 minutes (like buttermilk). Then proceed to step 2 of the instructions above. Note – The vegan version works best when you make the dough ahead of time, roll it out, add the filling, roll it into a log, cover with plastic wrap, then set in the fridge overnight. Slice it into 10-12 pieces and let it rise again for 1 hour in a greased baking dish before baking.
- Prep Time: 2 hours
- Cook Time: 20 minutes
- Category: desserts
- Method: oven
- Cuisine: American
Nutrition
- Serving Size:
- Calories: 362
- Sugar: 28.5 g
- Sodium: 245.5 mg
- Fat: 8.4 g
- Saturated Fat: 6 g
- Carbohydrates: 69 g
- Fiber: 1.3 g
- Protein: 2.8 g
- Cholesterol: 22.5 mg
We had several people in our facebook group try out different versions (with and without yeast, no xanthan, etc.) They all turned out delicious, just different textures! Feel free to check out the group and ask questions! That’s what we’re here for.
Phew, that was a lot of talk about cinnamon rolls, but I think we got this!








So excited to make these for our Christmas morning breakfast tradition! (Was afraid we’d have to skip this year when my daughter was diagnosed with Celiac and homemade seems so daunting!)
If I make ahead and skip the 2nd rise and put them in the fridge instead will I need to do a 2nd rise the next morning before baking?
Hi Jessie! So glad you’re able to make these for your daughter ❤️. I would refrigerate them rolled up with filling (not sliced). Then the next day slice them and place them in baking pan. Cover and let them rise for 30-60 minutes. They won’t rise as much as the first rise but you should still be able to see the rolls expand and rise a wee bit. Then bake! If you’re rushed on time, you can skip the second rise but the texture won’t be as soft. They taste will still be delicious though ❤️
Woooo! We’re going to try today!
But pls help–what’s the deal with Xanthum gum? I couldn’t find a post (and haven’t seen in stores)…is this the magic ingredient that is going to make a glutenfree flour come out more bread like? If I add to eg straight cornflour will I finally be able to make a cookie? (prayer emoji)
Thanks much!
It actually is a magic ingredient. It replaces the protein of gluten in gluten free baking. YOu can definitely try using another ingredient if you don’t have it, but now sure it will be fluffy. Does that make sense?
We all devoured these rolls! They were gone in a flash at breakfast this morning, so darn delicious!
Yay! Happy to hear it, Wilhelmina. 🙂
My friend loved these! I love being able bake for everyone!
That’s awesome, Stephanie! Isn’t it great to have a recipe that works for everyone and tastes so good, nobody notices the difference?! 🙂
Decided to make these this morning and OMG they were amazing!
Yay! So glad you enjoyed them, CP!
This was so good!! Everyone at my house was impressed!
Ohhhh, I’m so happy to hear this, Toni! Thanks for the review and rating. 🙂
I’m excited to try these for my daughter who ha celiac disease. You said they can refrigerate. Can they freeze?
Hi Roxann!
I haven’t tried freezing them, but if you want to try it, I suggest that you leave the icing off and then add it after you warm the rolls up to serve them again.
Can I freeze these after baking if I made them vegan and gluten-free? If so, any suggestions for storage and reheating?
Sure! I do that a lot! I recommend freezing without the glaze . Then thaw out in oven. Once they are at room temperature, add the glaze and warm again at 300F or so, until glaze it melted . Does that make sense?
That makes perfect sense! Thank you! Is there any difference in texture or taste between freezing them before or after baking for the vegan gluten-free version? If freezing before baking is better, would we let it thaw overnight then bake it accordingly after resting it for the second time?
I would say the texture is a little denser once baked and then frozen. But reheating helps! If you freeze the dough after the first rise, then yes, let it thaw in the fridge overnight or at room temperature. Transfer to a warm spot, and let them rise for about an hour. They won’t rise too much, give they are vegan and gluten free, but they should expand! then Bake as instructed. Hope that helps. Keep me posted!
Can’t wait to try!
I hope you enjoy them, Phyllis!
I love that these are gluten free so my whole family could enjoy them!
I’m so glad your whole family could enjoy these Ashley!
These were such a huge hit with my kids. Even my picky 11 year old loved them!
Yes!! So glad to hear that! Thanks, Lauren!
I love cinnamon rolls and this is perfect way to avoid gluten…which is something I do.
I hope you have a chance to make the cinnamon rolls, Carrie. If you do, please come back and rate the recipe!