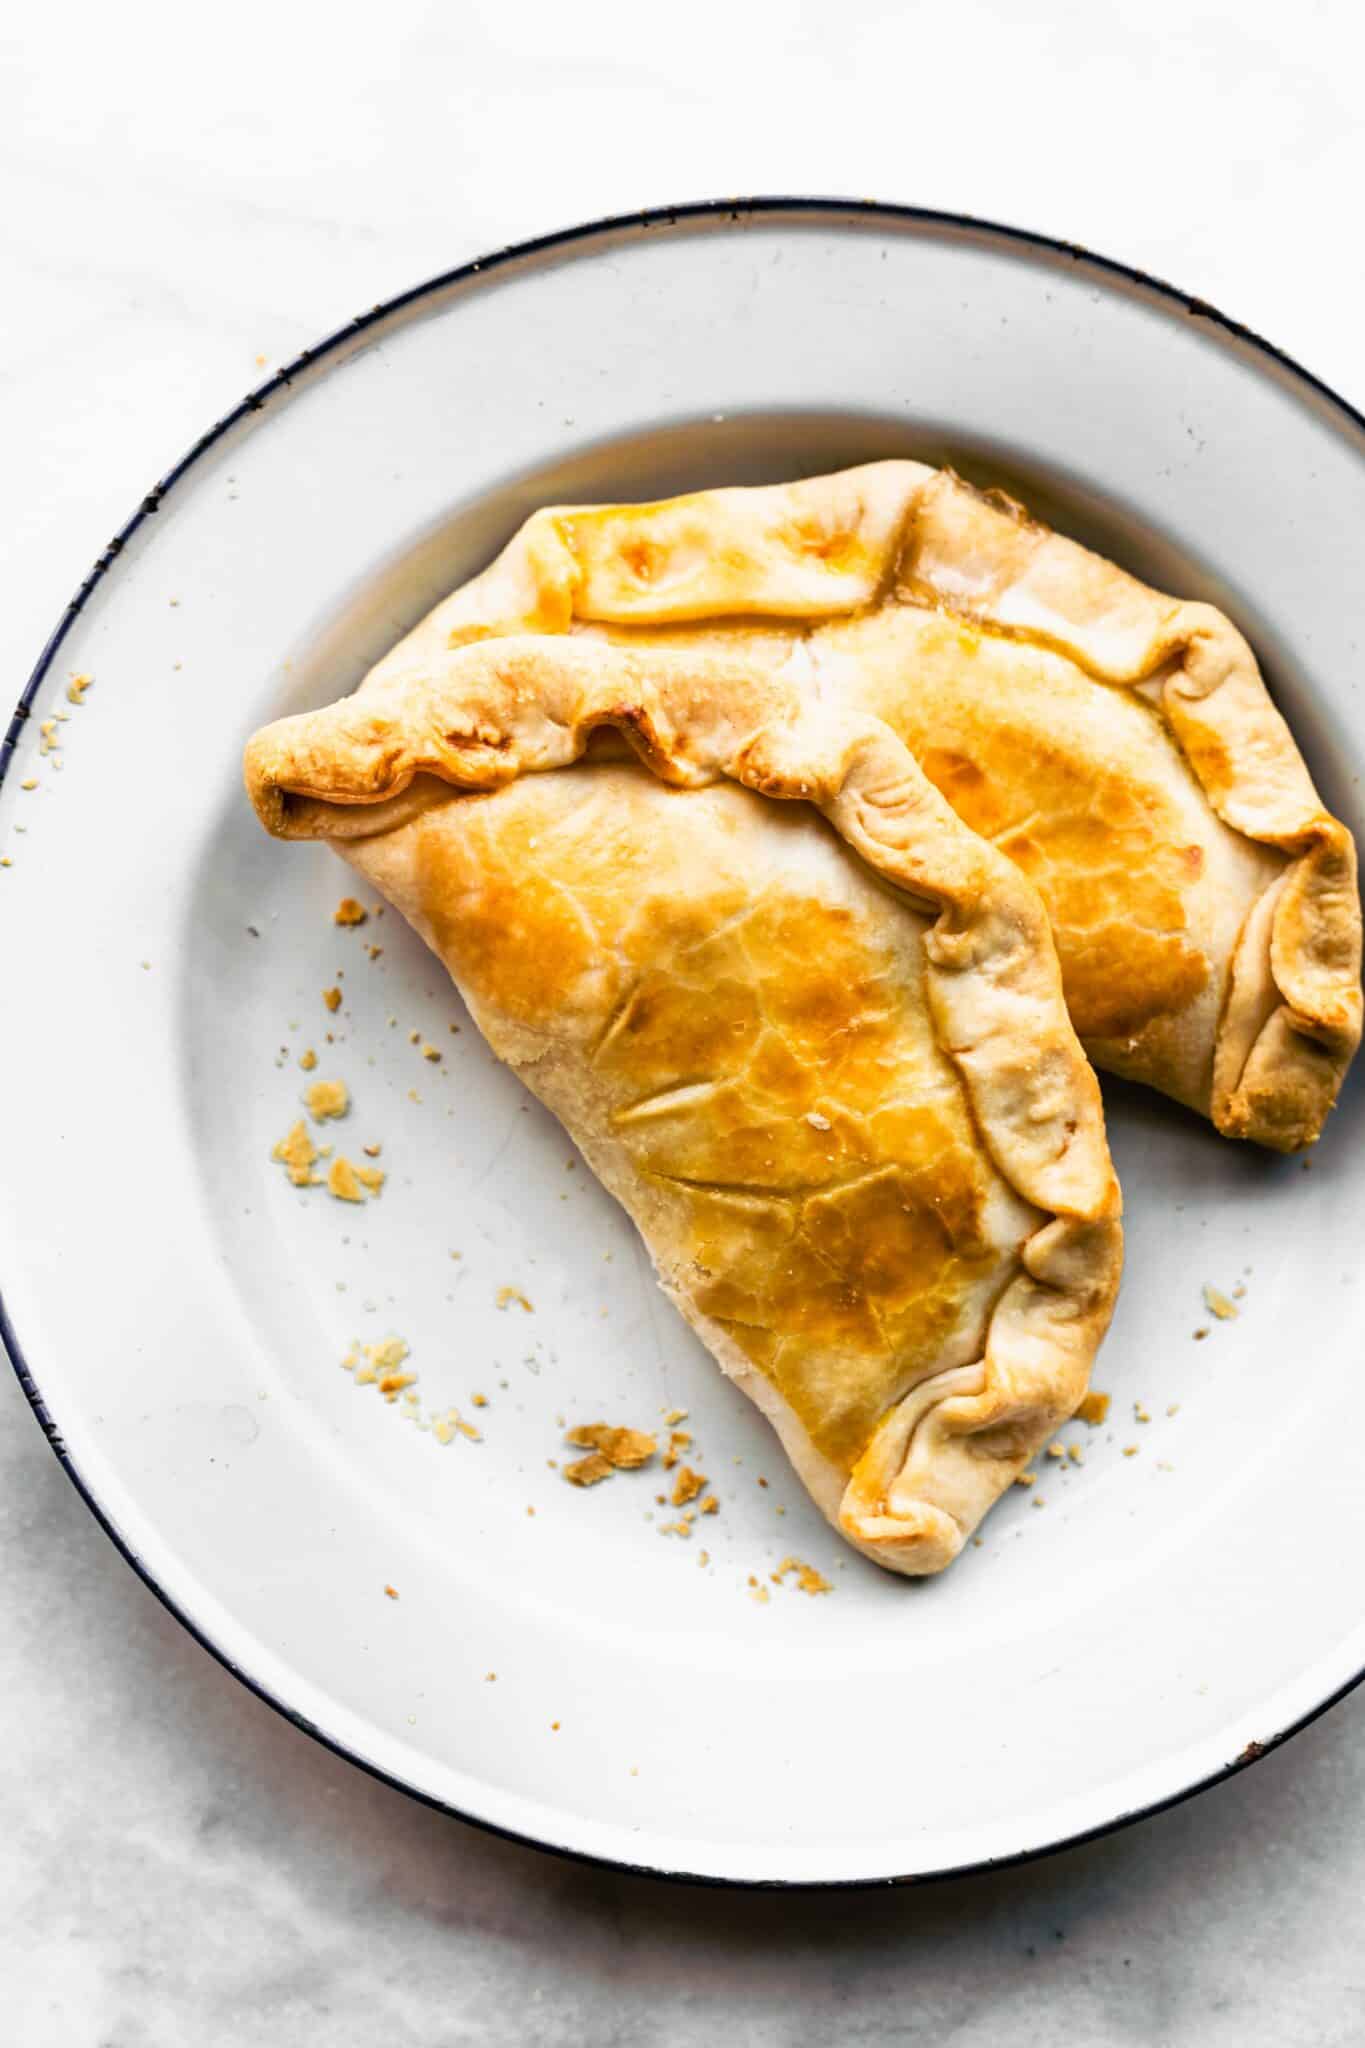
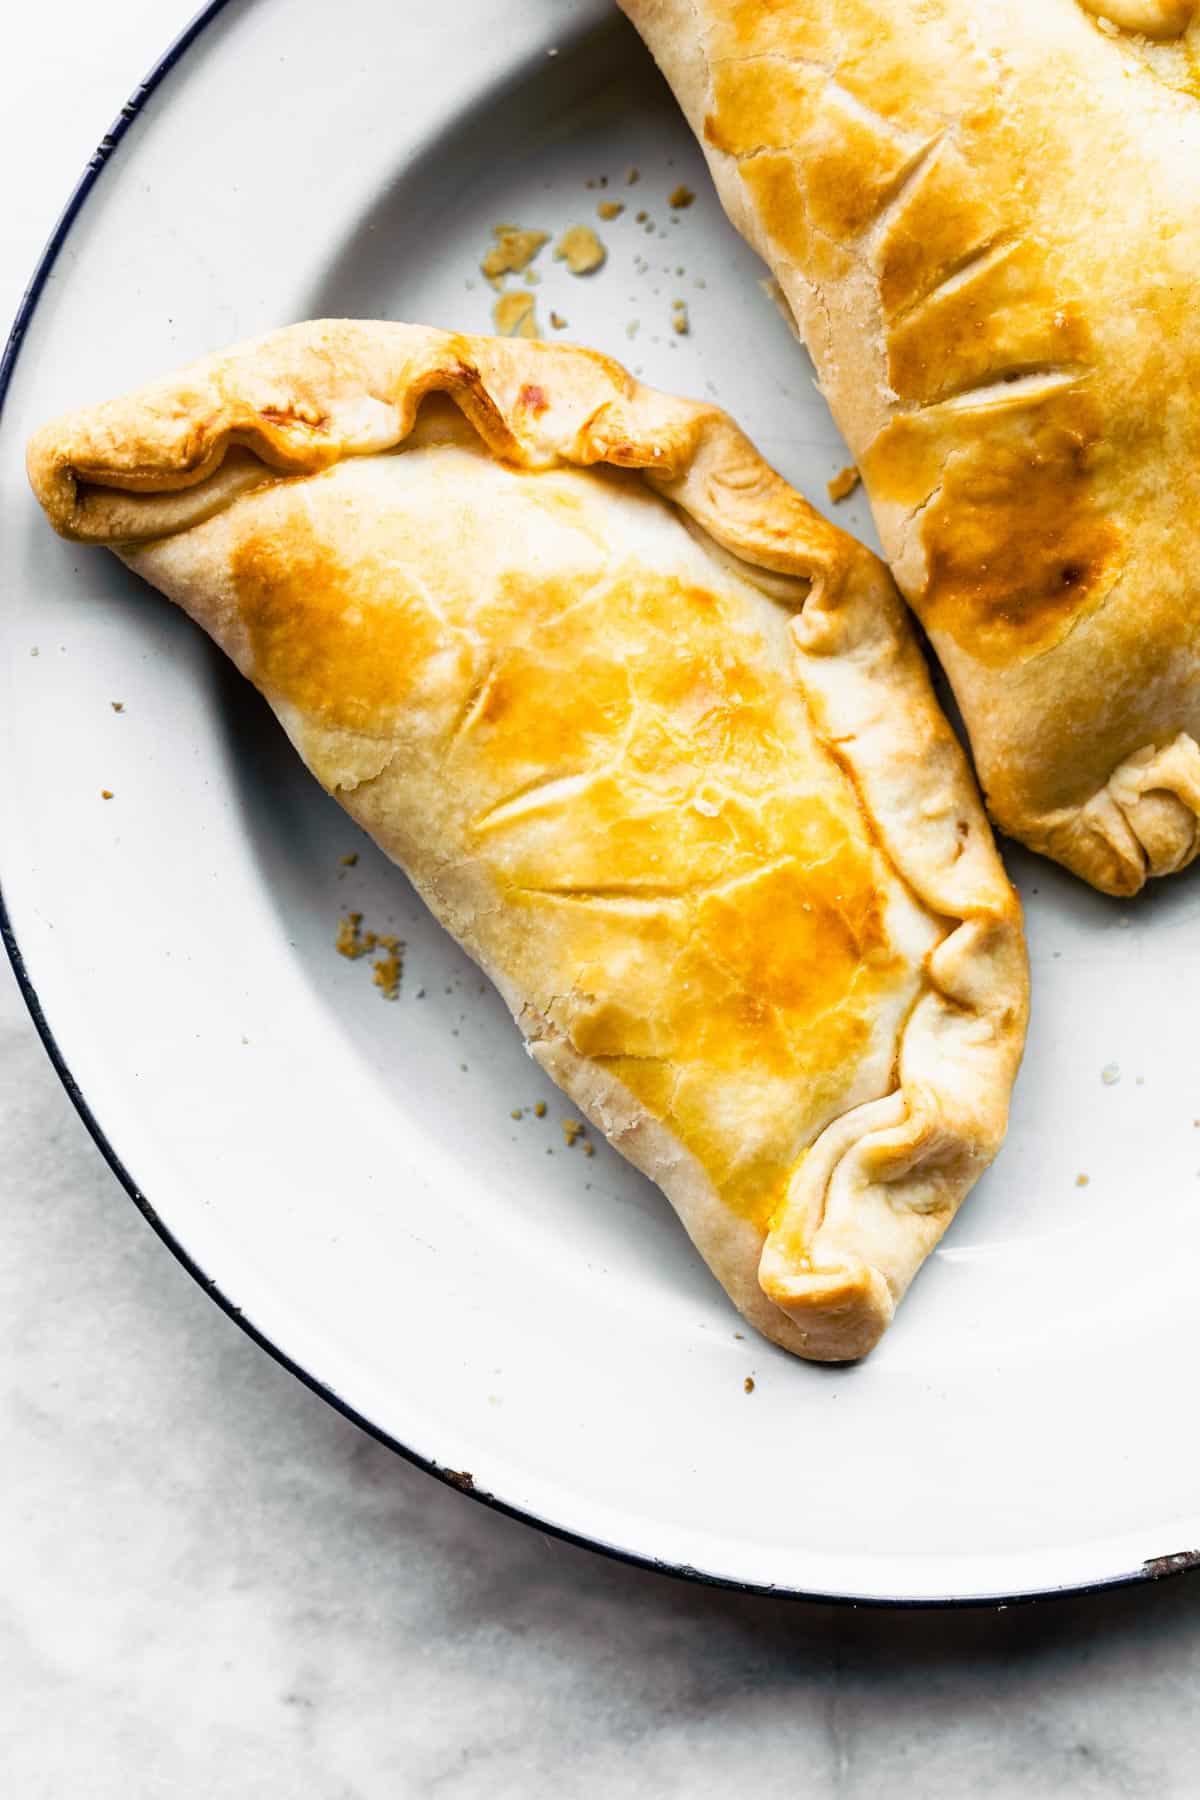
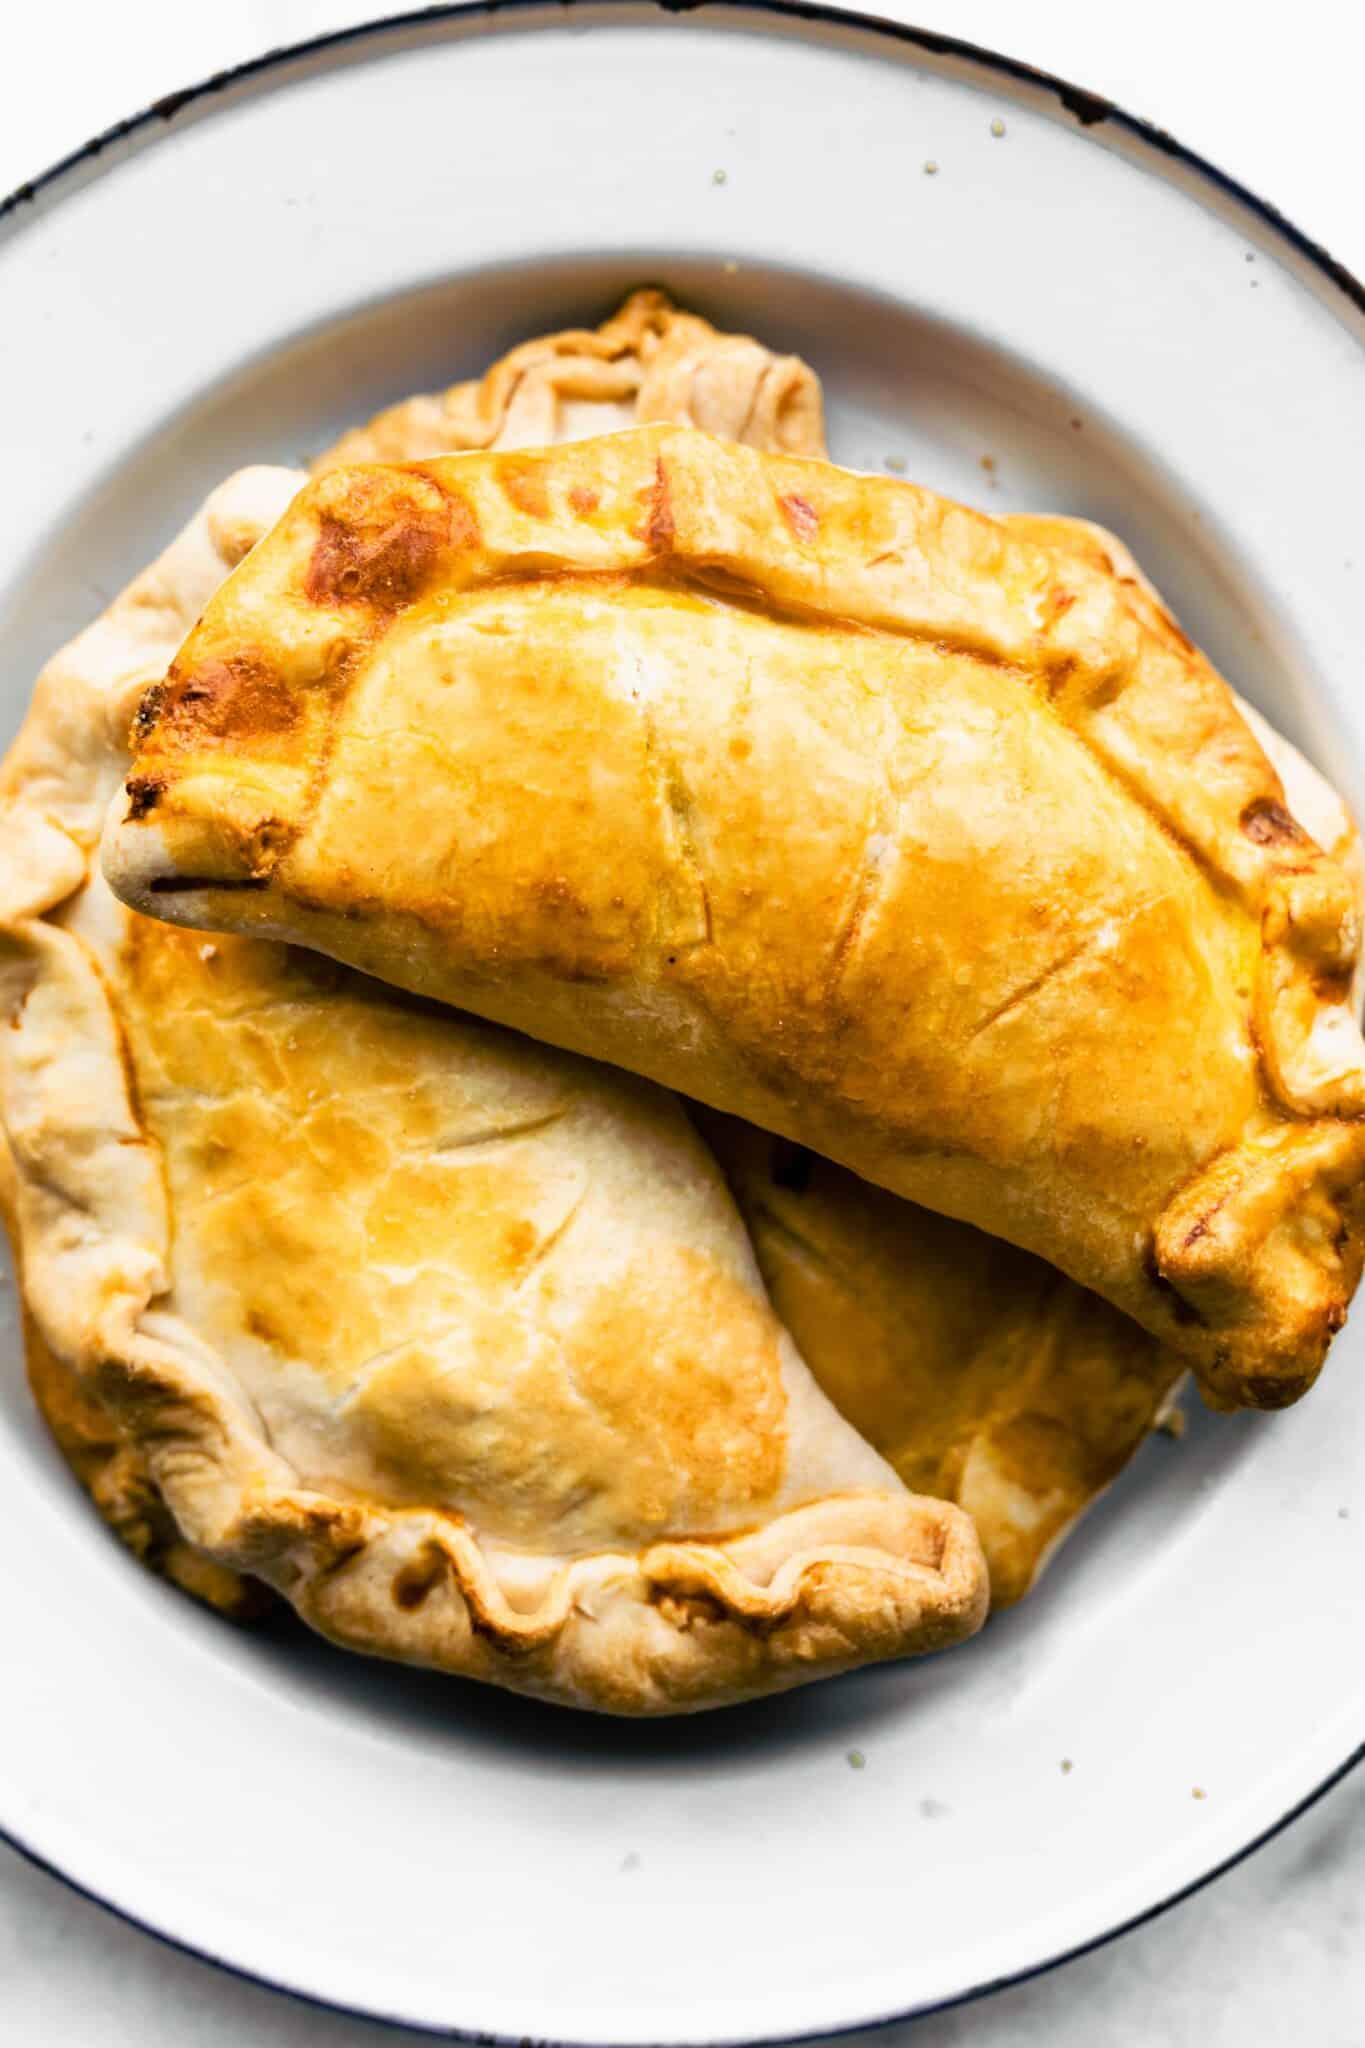
These easy Gluten Free Hand Pies are made with just three basic ingredients in under an hour! Made with a cozy apple filling, they’re crisp and flakey on the outside, soft and gooey in the center, and completely irresistible. Serve them plain, or drizzle them with icing!
What Is a Hand Pie?
Hand pies are a type of pastry made with a biscuit-style dough that encompasses a sweet or savory filling. Baked or fried, the dessert is easy to eat with your hands – hence the name hand pie!
What’s the Difference Between a Hand Pie and a Turnover?
The truth is hand pies, turnovers, and even pop tarts are all very similar, and their names are often used interchangeably. However, if you want to look at specifics, Taste of Home describes that turnovers are made from a folded piece of dough while hand pies are circular or square pieces of dough pinched together on all sides.
What’s In Homemade Gluten Free Hand Pies?
Everyone has their own version of a hand pie recipe! Most are made with puff pastry or pie dough. However, for our version, we switch things up just a little to keep it gluten-free.
- Gluten-Free Pie Crust or Pie Crust Mix– We use our homemade gluten-free pie crust recipe. However, if you don’t want to bother with a food processor or stand mixer, cutting butter pieces, and combining dry ingredients with the wet, a store-bought gluten free pie dough or pie mix works just as well!
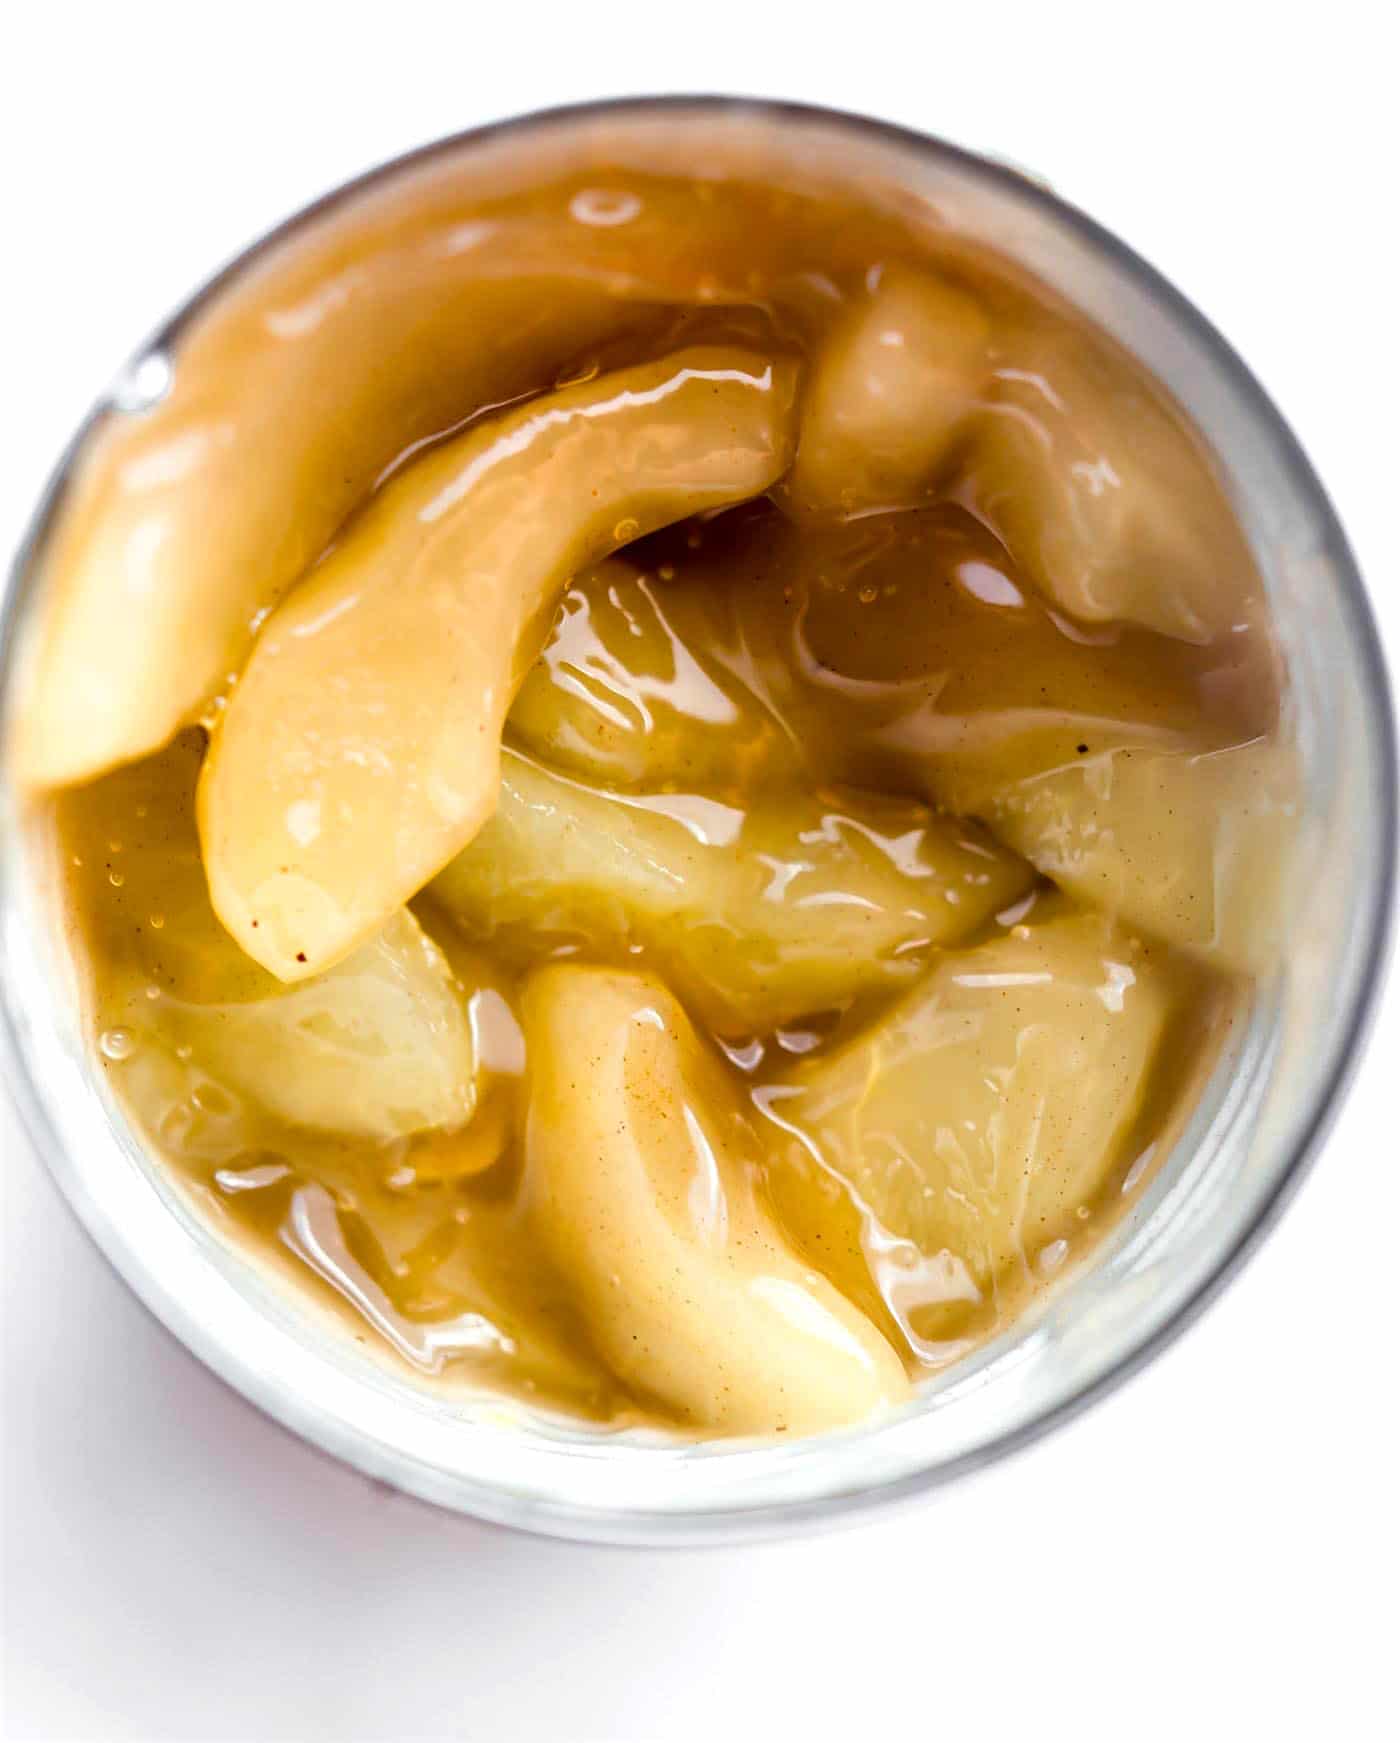
- Filling – Use your favorite canned pie filling! We opt for organic non-gmo apple pie filling with a teaspoon of ground cinnamon and nutmeg.
- Egg Wash – 1 egg mixed with water. This is brushed on top to create a beautiful golden sheen.
Alternative Filling Options
One of the best parts of hand pie recipes is that they’re so versatile! We’re partial to recreating apple hand pies to recreate the flavors of apple pie, but any pie filling will work!
For instance, try swapping out the apple filling with options like:
- Blueberry Jam
- Nutella
- Fresh Fruit
- Cherry Pie Filling
- Canned Peaches
- Chocolate and Marshmallows
How to Make Gluten Free Hand Pies in the Oven
We love hand pies, because you get all the taste and texture of your favorite pie with minimal prep time and a fraction of the work or mess!
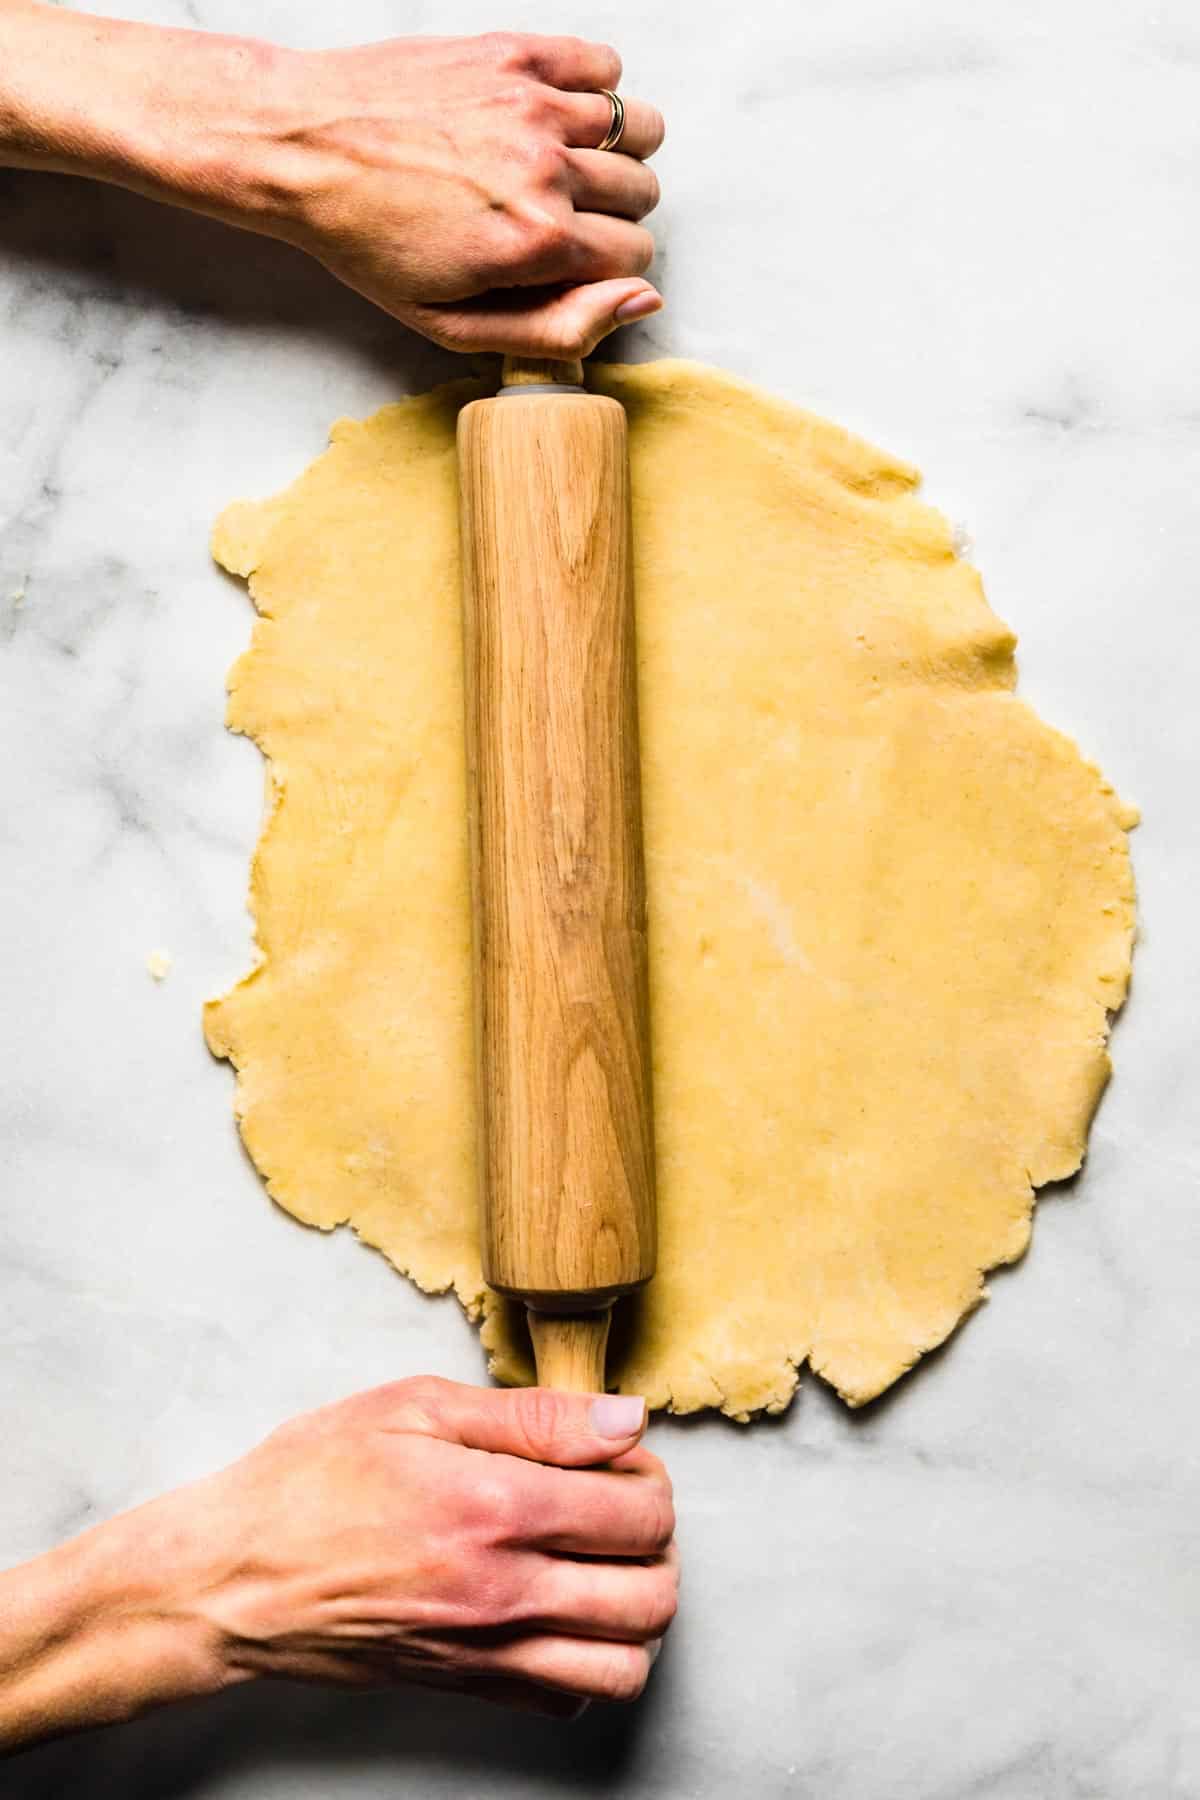
- Prepare the gluten free pie crust crust. Use a rolling pin to roll the pie crust between two pieces of parchment paper until flat. Or, just sprinkle your counter and rolling pin with gluten-free flour to prevent the dough from sticking.
TIP – Food Processor Alternative – If you don’t have a food processor, mix the gluten-free flour, salt, and xanthan gum in a large bowl. Then, use a cheese grater to grate the butter into the flour. Use a fork or pastry cutter dough blender to combine the ingredients until they’re crumbly.
- Cut the crust. Slice the dough into small dough circles.
- Fill. Dollop a small amount of the filling mixture in the center of each circle of crust. Then, gently fold the dough over, and press the ends together with your fingers or a fork to seal the pie. Make three small slits in each pie.
- Bake. Brush the tops of the hand pies with egg wash, and arrange them on a parchment-lined baking sheet. Transfer the tray to a preheated oven, and cook just until the crust bakes up golden brown.
Pro-Tip: For extra sweetness, dust your hand pies with powdered sugar or raw sugar after adding the egg wash. Or, add a drizzle of honey or maple syrup after baking.
Baking Tips
- Chill the dough. To achieve a flaky, tender crust it’s crucial to keep it cold! So, be sure to keep it in the fridge until just before using. Then, if it becomes warm as you work, pop it back in the fridge to chill before baking.
- Roll the dough evenly. For the best results, roll your pie dough out until it’s roughly ¼ to ⅛ inch thick all the way across. Otherwise, your gluten free hand pies may not bake completely or evenly.
- Shape the dough. For perfect circles, use a lid from a small pan, a glass, or cookie cutters to cut the dough.
- Make sure your oven is hot! Allow plenty of time for your oven to heat completely before baking. The hot temperature is key to the hand pies baking quickly and becoming golden and crisp.
How to Store, Freeze, and Reheat
This recipe is best enjoyed right away while the pies are still warm! However, if you happen to have leftovers, the best storage is an airtight container. They’ll stay fresh at room temperature for 1-3 days or in the freezer for up to 4 months.
Or, if you want to prepare in advance, form the pies, and leave off the egg wash. Then, store them in a freezer-safe container for up to 1 month. When you’re ready to eat, add the egg wash, bake, and enjoy!
Feel free to enjoy your hand pies cold. They’re still super tasty! Or, warm them up in the oven at 350 degrees Fahrenheit for about 10 minutes or just until they’re hot.
Common Questions About This Gluten Free Hand Pies Recipe
The most common cause is using warm ingredients. Make sure everything is cold! Then, be careful to measure accurately, and avoid overworking the pie crust.
Brushing the pies with the egg wash will help create a seal, preventing them from becoming soggy. However, you want to make sure not to overfill them! About a tablespoon of filling is all you need.
Absolutely! Feel free to use any savory ingredients you like best.
More of Our Favorite
More Gluten-Free Pie Recipes

Gluten Free Hand Pies Recipe
- Total Time: 2 hours
- Yield: 4 to 6 pies 1x
- Diet: Gluten Free
Description
Enjoy all the flavor of your favorite pie with minimal prep time and a fraction of the work thanks to this easy gluten free hand pies recipe!
Ingredients
Gluten Free Pie Crust (see notes for quick alternatives and make-ahead tips)
- 1 ½ cups (205-215 grams) gluten free all-purpose flour or homemade all purpose flour blend (without xanthan gum) *see notes
- ¾ teaspoon xanthan gum
- ½ cup butter (8 Tbsp), partially frozen or very cold, cut into cubes (see notes)
- 3 teaspoons sugar
- ¾ teaspoon kosher salt
- 6–8 Tablespoons ice water (if living in a drier climate, 8 Tablespoons may be needed)
Filling
- ½ cup organic fruit pie filling
- Optional – Egg wash (1 egg whisked with 1 Tablespoon water)
- Optional raw sugar or powdered sugar
Instructions
- To prepare the pie crust, place 1 cup flour and the xanthan gum into a food processor with the blade attachment. If you don’t have a food processor, see the blog post. Sprinkle frozen butter cubes over the flour.
- Cover with the remaining 1 cup flour, sugar, and salt. Pulse in short bouts until butter is broken down into small pieces, about 25 times.
- Drizzle in the ice water. Mix with longer pulses for 10 to 12 seconds. The mixture will turn light yellow in color and the texture will be crumbly. Scrape down the sides with a spatula and pulse again one or two more times. Do not overwork the batter (it should be mealy with bits of butter still visible). If the dough seems too dry to shape into a ball, add 2 Tablespoons more ice water.
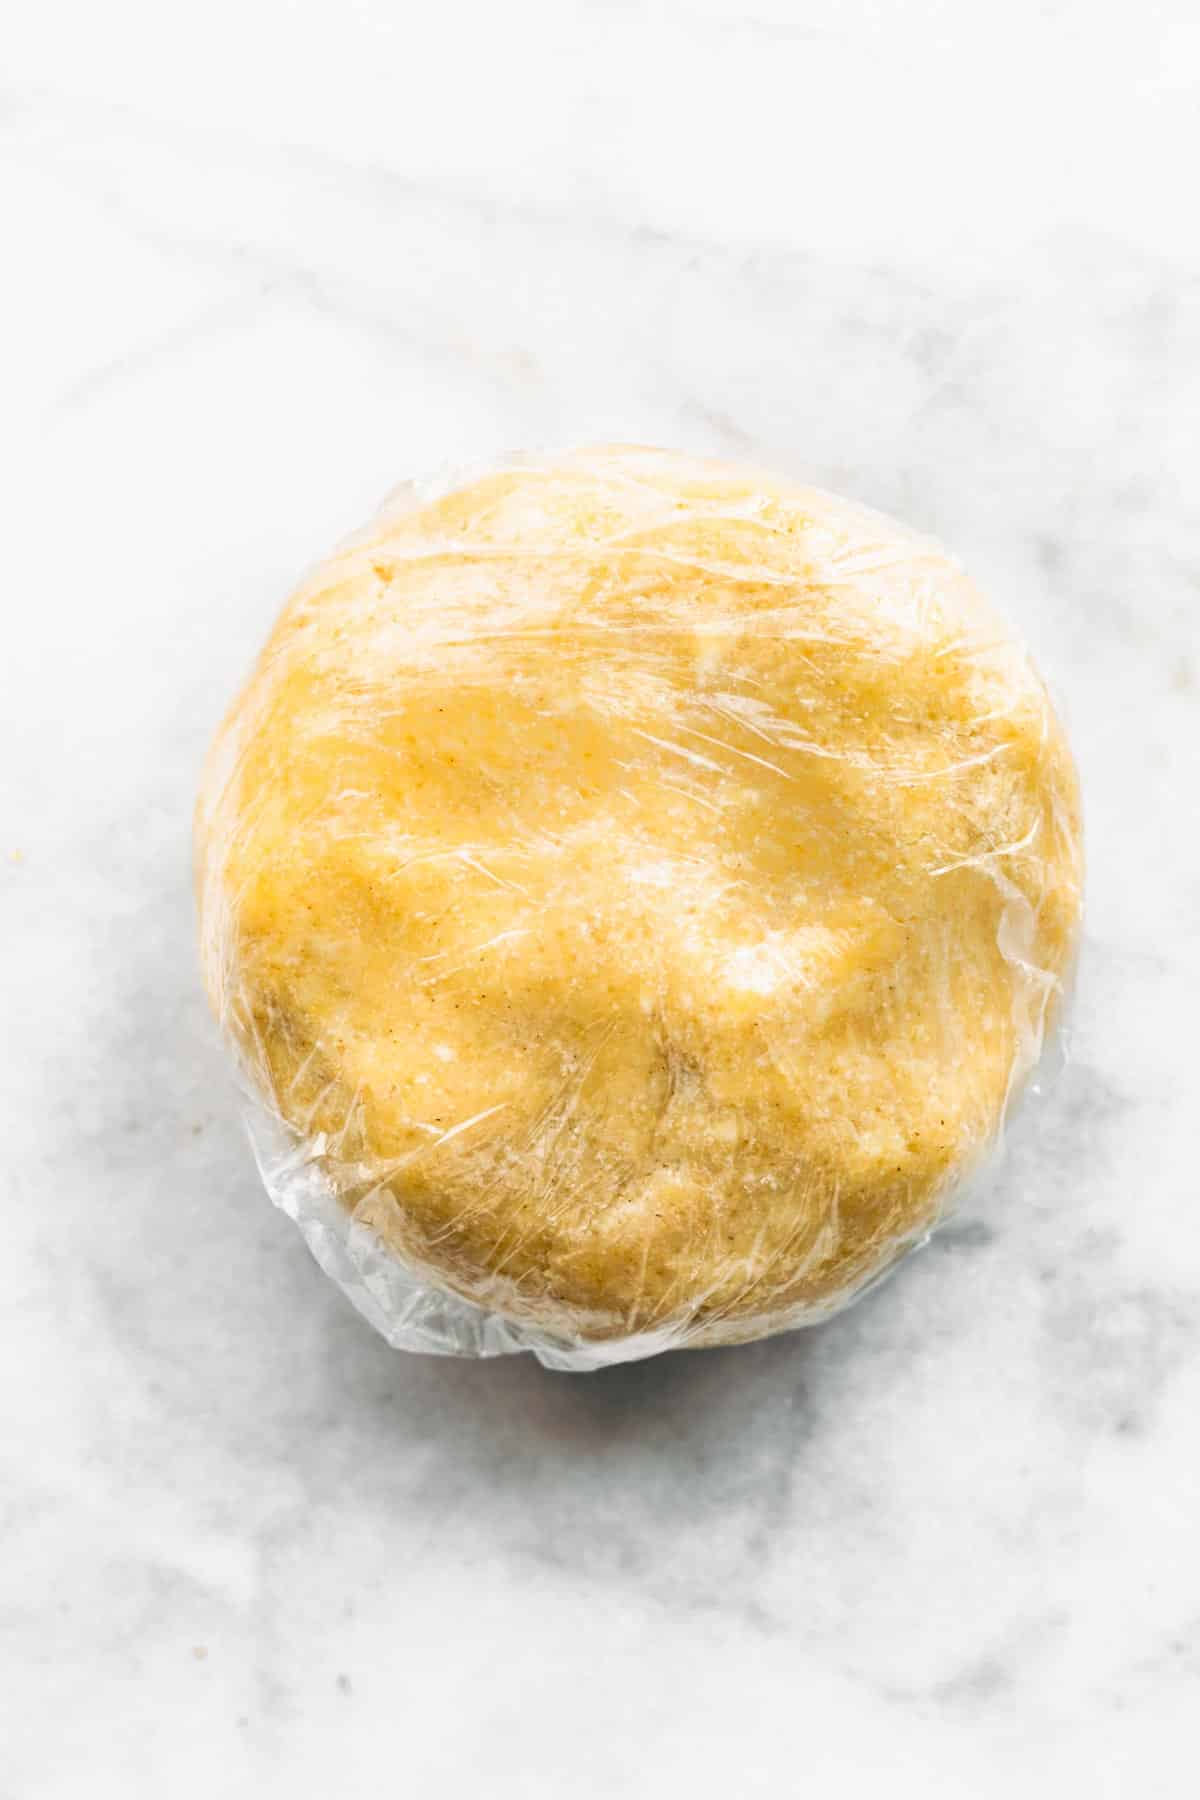
- Transfer the mixture to a large bowl or onto a working surface. Shape the dough into a ball (again, do not overwork the batter), flatten slightly into a disc and tightly wrap with plastic wrap. Place the dough in the refrigerator to chill for an hour or overnight (see notes).
- Allow the dough to rest at room temperature for 10 to 15 minutes before rolling.
- Preheat the oven to 400 F and line a baking sheet with parchment paper. Set aside.
- (SEE NOTES) To roll the dough, lightly flour the work surface and the rolling pin. Sprinkle a little flour on top of the dough or roll the dough between two pieces of plastic wrap.
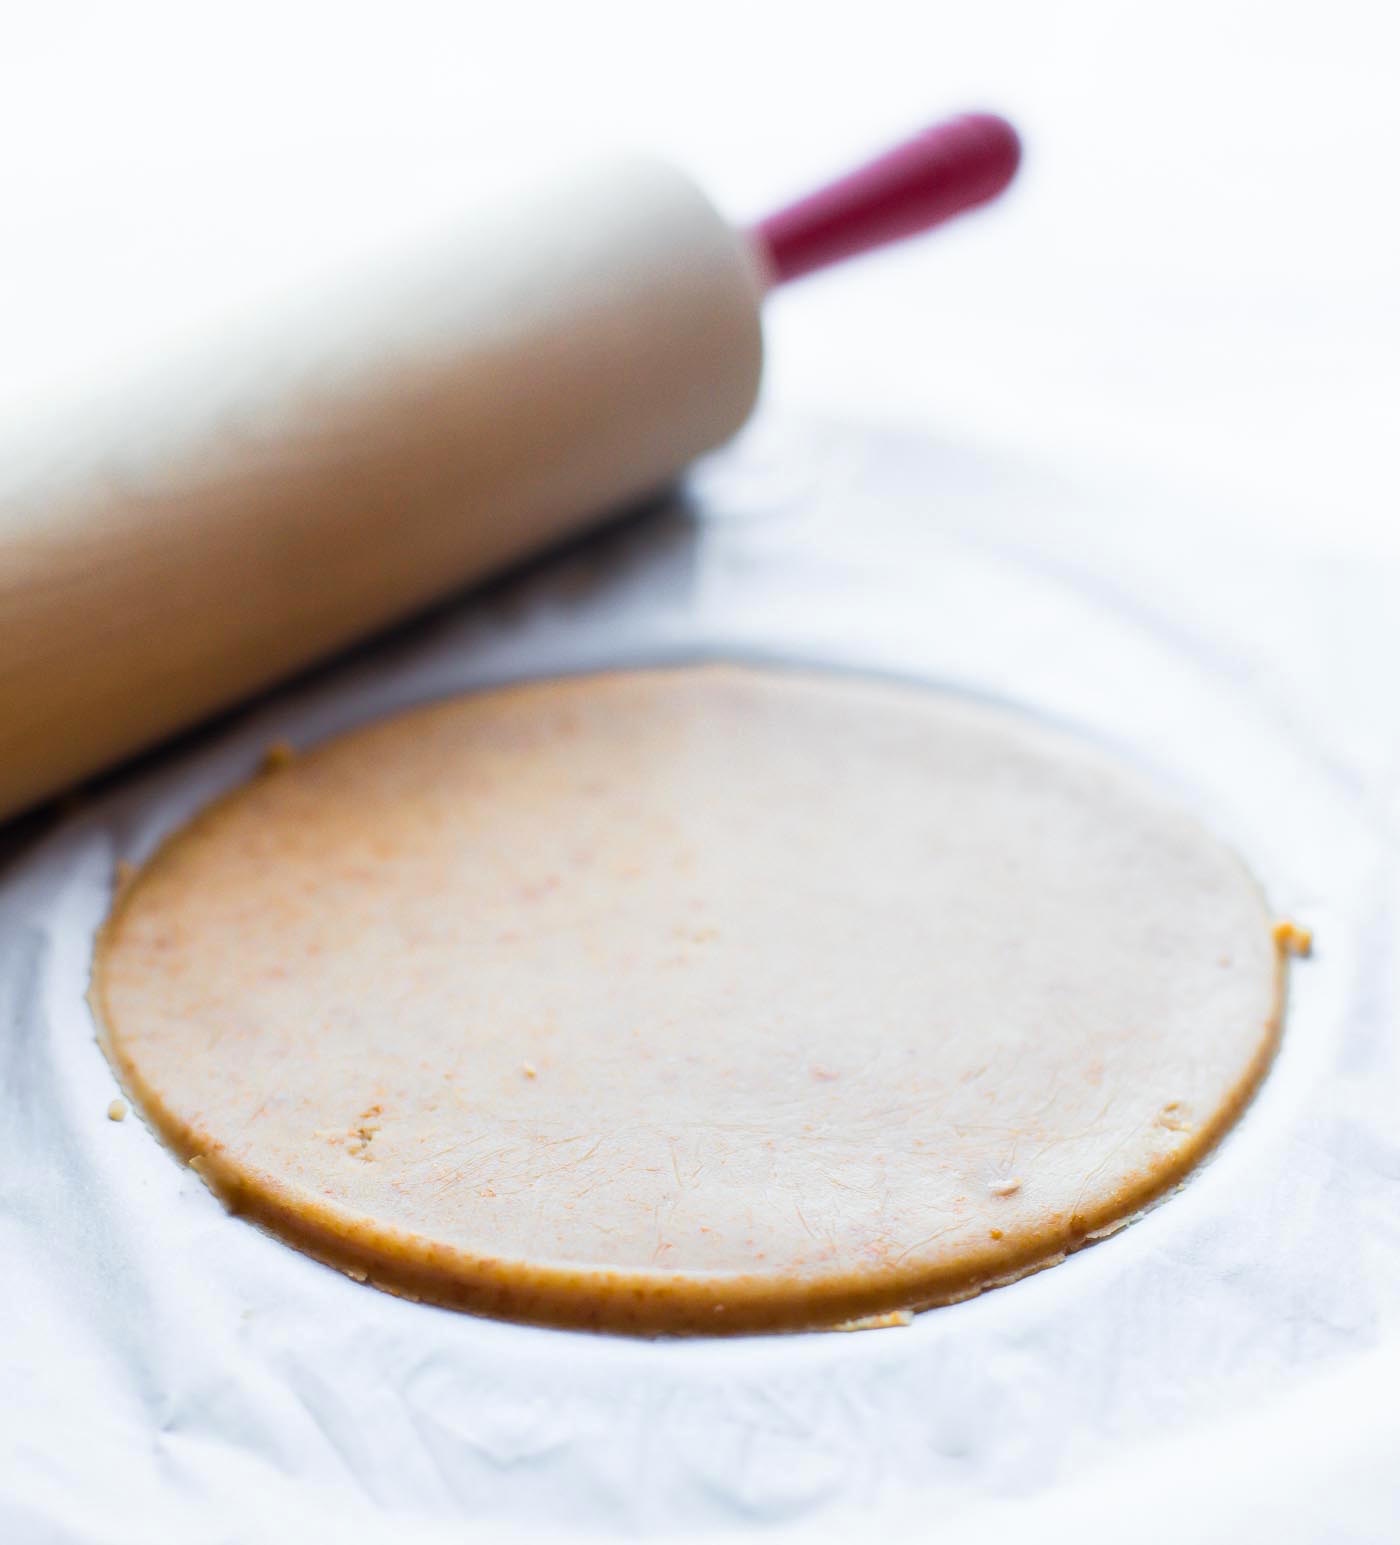
- Once rolled flat, about ¼ to ⅛ inch, cut the dough in 5 to 6 inch circles for medium pies or 3 to 4 inches for smaller pies. A saucepan lid or tupperware lid can be used. Repeat 4 to 6 times.
- Place 1 to 2 Tablespoons fruit pie filling in the center of each pie circle.
- Gently fold dough almost in half over the filling, leaving ½ inch space on the bottom side edge. Fold the extra ½ inch bottom edge of the dough up over the top layer of dough. Then with wet fingers, gently crimp the edges with fingers or use the tines of a fork to seal the dough together. Transfer to the prepared baking sheet.
- With a knife, cut 2 to 3 small holes in the top of each pie. Whisk the egg with water in a small bowl until thoroughly combined. Brush top of each hand pie with egg mixture and sprinkle with optional raw sugar. Bake in the preheated oven for 25 to 30 minutes or until the edges are golden brown.
- Cool for 10 minutes before serving. Store pies, lightly covered, at room temperature for up to 4 days.
Notes
Substitute Tips – Use a store bought gluten free pie crust mix for the homemade pie crust.
Prep Tips – The pie dough rolls out easiest between two sheets of plastic wrap. However, when cutting the dough into circles with a lid, placing the dough on a floured surface works best. Or place the rolled out dough in the freezer to firm up before cutting with the pan lid.
Baking Tips – Baking times may vary depending on the gluten free dough used.
Storage Tips – The baked hand pies can be stored in the freezer for up to 3 months in an airtight container.
- Prep Time: 30 minutes
- Chill Time: 1 hour
- Cook Time: 25 to 30 minutes
- Category: dessert
- Method: oven
- Cuisine: American
Nutrition
- Serving Size:
- Calories: 168
- Sugar: 2.2 g
- Sodium: 163.3 mg
- Fat: 10 g
- Saturated Fat: 2.5 g
- Trans Fat:
- Carbohydrates: 17.8 g
- Fiber: 1.3 g
- Protein: 1.9 g
- Cholesterol: 0 mg


These look INCREDIBLE! Our house has been filled with mince pies lately and I think these would make the perfect gluten free alternative!
OH my husband would love that! i need to make him some mince meat pies next!
I love the simplicity of these! Gorgeous photography!
Thank you friend!
EASY is always good & you have way too much going on right now!!!!!!!!!!!!!!!!!
right? I am all about simplicity these days. SOOO NEEDED! <3 you
Love back!
So there’s this place in Atlanta that’s “famous” – The Varsity. It’s been there since the 50s (I think…) when they used to have rollerskating drive in service. Anyway, they are know for chili dogs and fried pies. It’s my most trashy guilty pleasure. All that to say, I love your simple (much healthier) hand pies.
Hang in there brother.
mmm i bet that was epic! trashy but epic. haha my pies will be the for the off season.
YES dessert empanadas!! I’ll take 10, please!! 😉 Merry Christmas and Happy Holidays, Lindsay! <3
Oh it’s so easy to get stuck in a pattern of behaviors that lead us nowhere but that’s the whole getting out of your comfort zone. Can’t wait to read that post and Merry Christmas friend!
amen! always learning and adjusting. <3 you.
Hello, my gorgeous friend. This looks so yummy! I hope you have a lovely Christmas and New Year. I know that you are going through some changes this year, so I want you to know that I am thinking of you and praying for a smooth transition. Love you sweetness!
thank you friend!!! that means a lot. I miss you! how are you?
Good! Busy and very focused on my family. They are growing up so fast. I don’t want to miss anything and I work, work, work for their future and well-being. We need a big long chat sometime soon. I know how busy you are too, so no pressure. I am always here. Always your forever friend.
I get that. I have tons to tell you. Phone date soon!
That would make my day. Look at your calendar and let me know when you’ve got a window where we can talk. Love ya Linds.